
Tags
In this, the third and final part of our mini-series on Daini-produced Seiko 5 Sports watches, we turn our attention to the marginally younger of our two examples, a Seiko 7019-6030 from May 1970.

Aside from the more sober monochrome colour scheme of this watch compared to the citrus 5126 described in the previous post, these two watches are remarkably similar in outward appearance. Both feature day/date calendars, internal rotating dive bezels operated by the recessed crown at 4(ish), and both feature push-to-quickset calendar adjustment (although with key differences). The older watch, however, is fitted with the 5126A, notable for its integrated autowinding system, and the newer with the freshly introduced (at the time), 7019A.

To my mind, the 5126A is the more sophisticated of the two, certainly more complex, but the 7019A has it beaten in at least one respect in that its quickset capabilities extend to both day and date whereas the 5126 can only quickset the date. This example of the 7019-6030 looks honest and very sound. Its external wear and obvious signs of degradation in the lume on the dial and hands a testament to a watch that has been worn and used to the point, presumably, that its owner felt its time was up. It is additionally worth noting that the day disk is stuck half way between one day position and the next – perhaps the reason the watch had been set to one side.
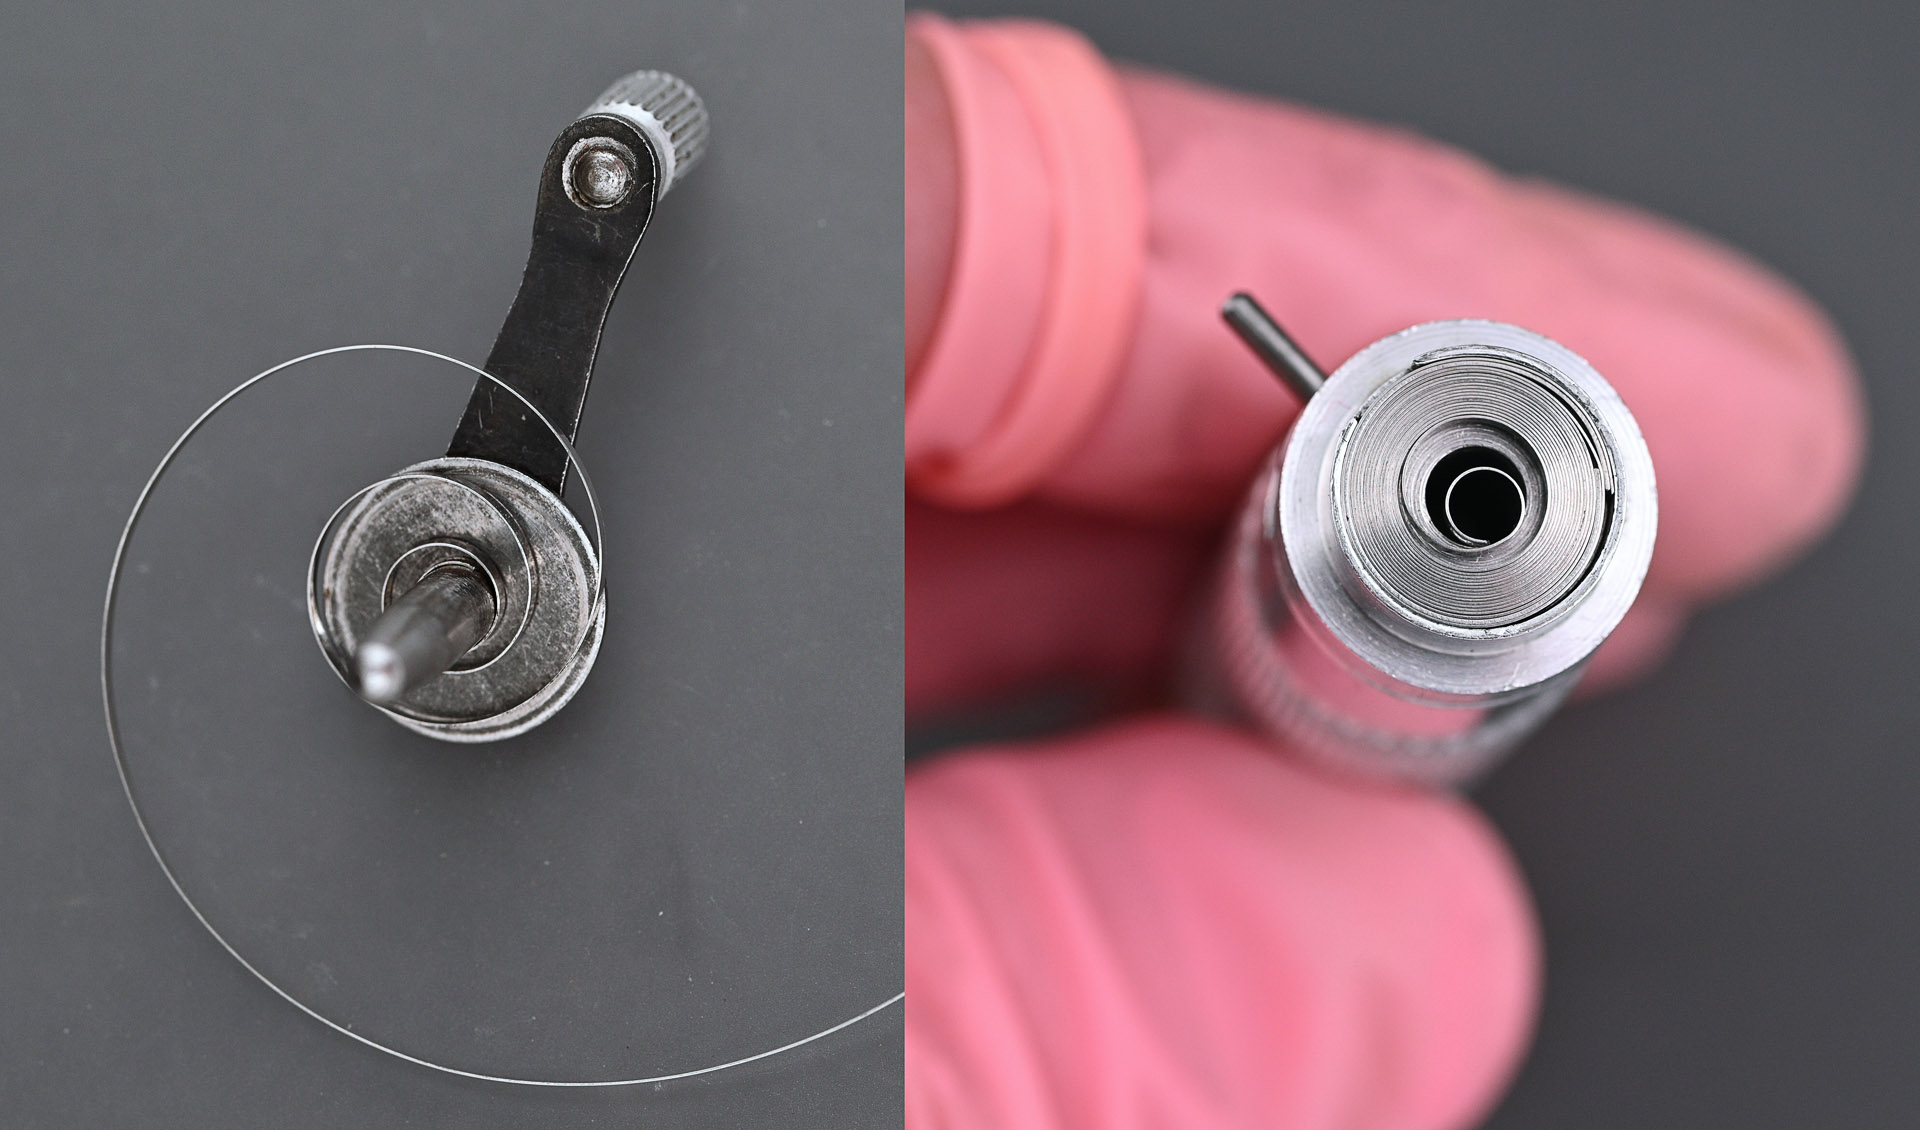
Let’s see to what extent the generally positive impression is born out in the internal condition of the movement. We start by removing the crown and stem, an operation accomplished by depressing the setting lever tab that presents itself only once the crown has been pulled out to its time-setting position.

The dilapidated state of the lume is revealed in its full glory with the movement freed from the case, particularly that on the hands. Indeed, the hands themselves look to be in really poor condition, the plating pitted and corroded.

At this point in proceedings, I started to give some serious thought to undertaking a wholesale relume of both the dial and hands. The lume really is past the point where warm patina ventures into a grotty blot-on-the-landscape and so, with that decision made, I decided to take advantage of the secure location of the dial and perform the operation with the dial in situ. The old lume was hardened and gouging it out likely to lead to implement slippage and so I softened each lumed marker with a dot of lighter fluid before starting to remove the lume.

I worked my way steadily around the dial clockwise from the 6 marker and repeated the journey to clean away any remnants. I then made up a batch of white Bergeon lume mixed with matt lacquer and applied to each marker in turn using an oiler, teasing the liquid into the corners to make eleven nice squared off pillows of white luminous material. The finished result looks at least as well-executed as the factory application, marred only by the slightly tarnished state of the plating on top of the inner walls of the underlying markers. Satisfied that we had the basis of a smart looking watch, I moved on to begin the process of dismantling the movement. Removing the dial and hands reveals the first signs of previous watchmaker bodgery.

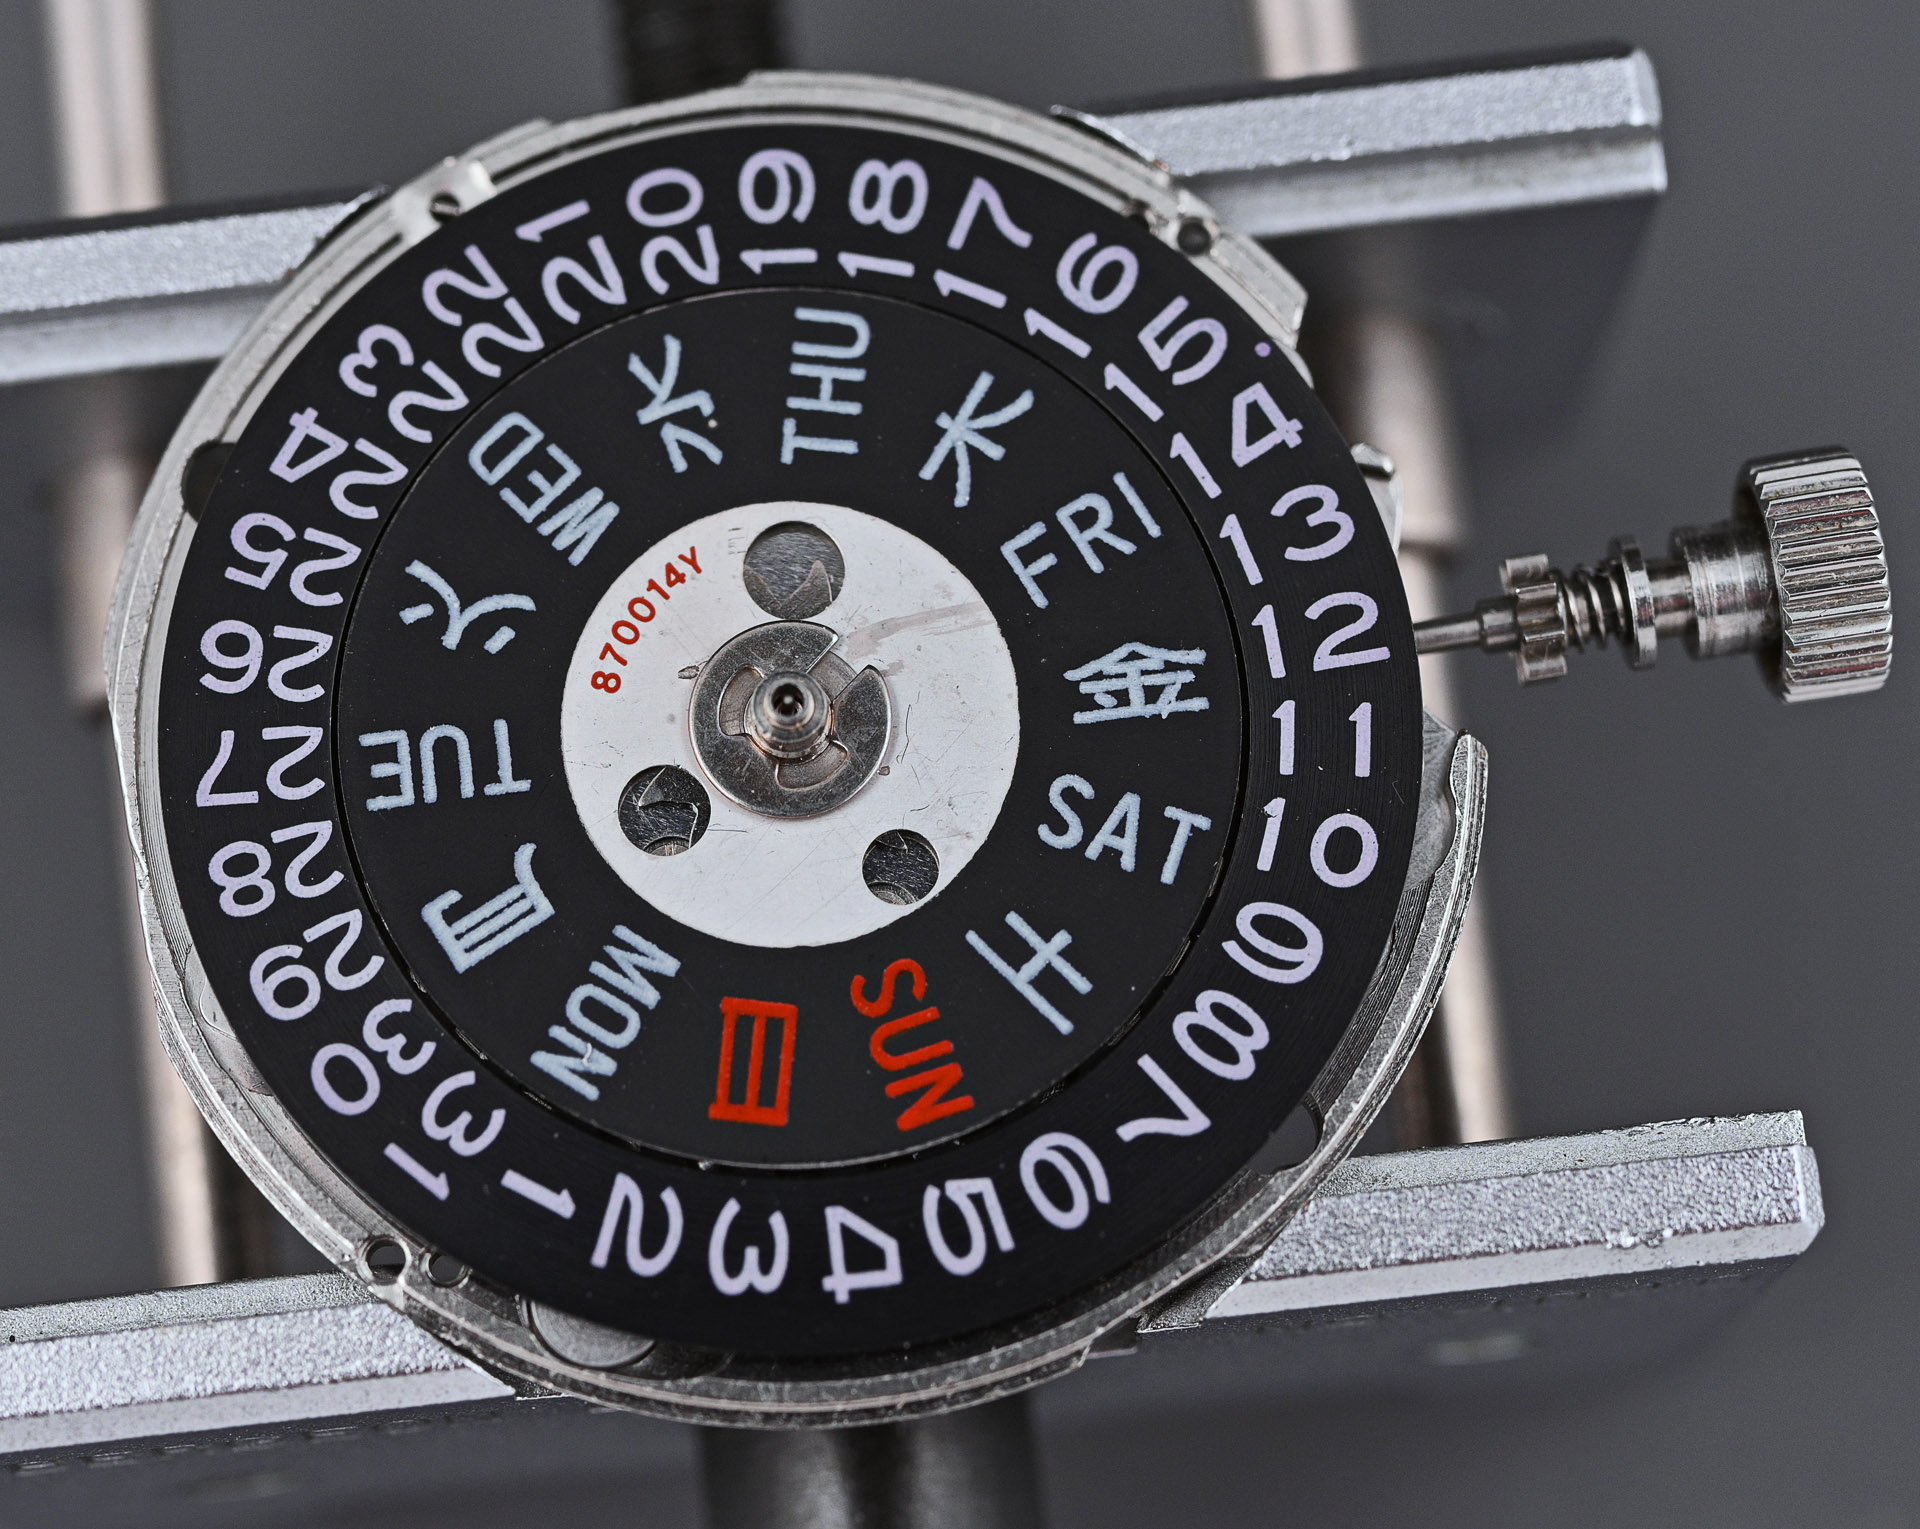
Firstly, the day disk snap is missing which accounts for the inoperable day function, the disk itself having become decoupled from the day jumper beneath with nothing to hold it in place. Secondly, the day star has been glued to the day disk using epoxy adhesive.
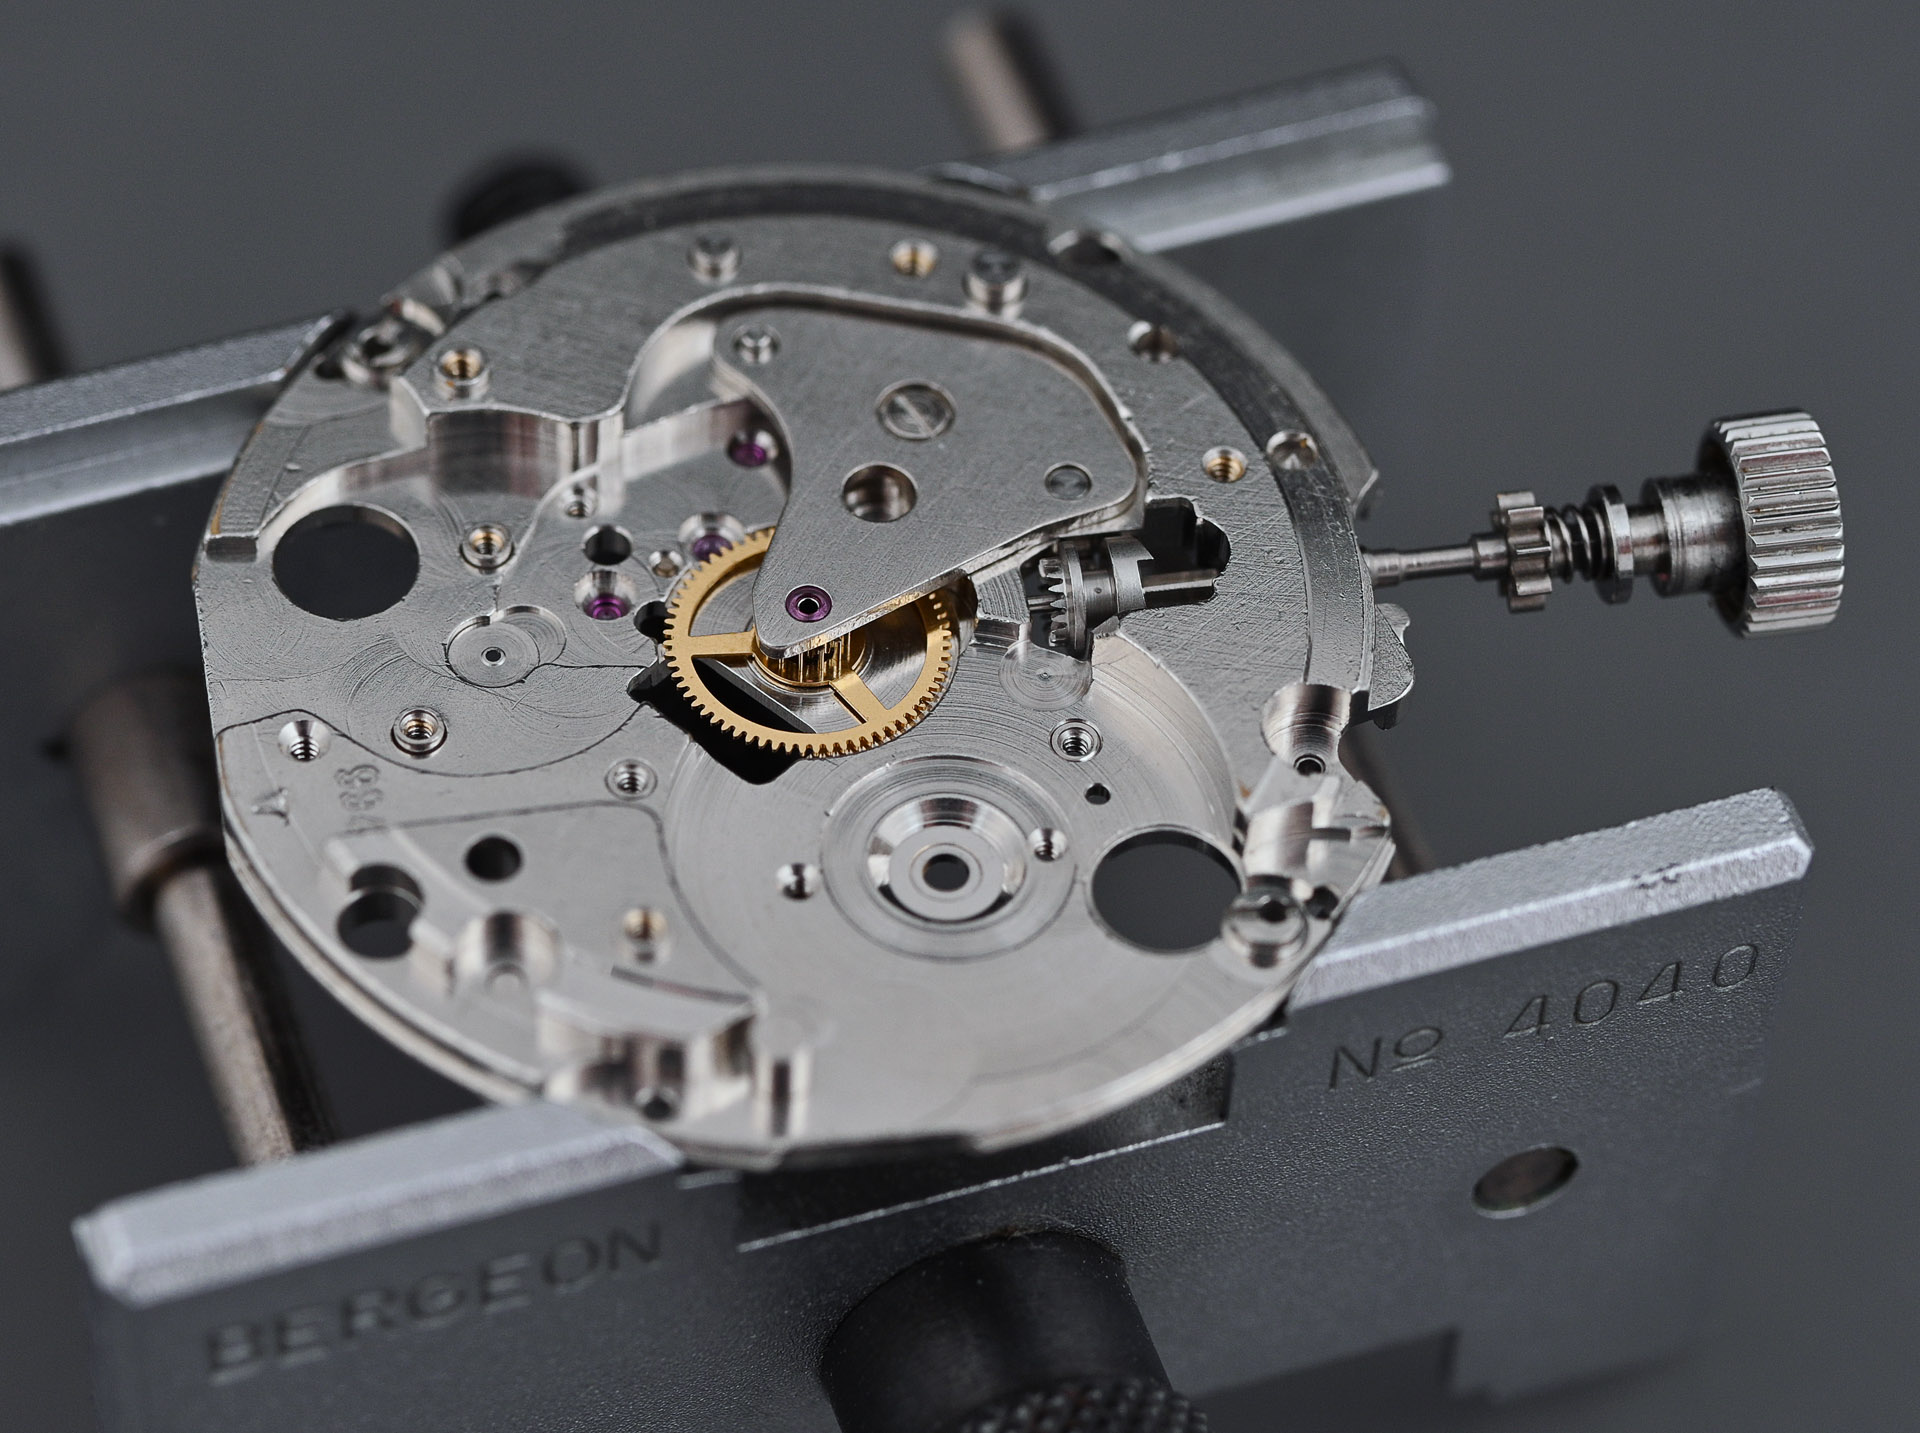
Turning the movement over and removing the winding weight reveals a familiar (to anyone who knows their modern workhorse Seiko automatic movements) layout but one which is otherwise unconventional and not a little quirky.
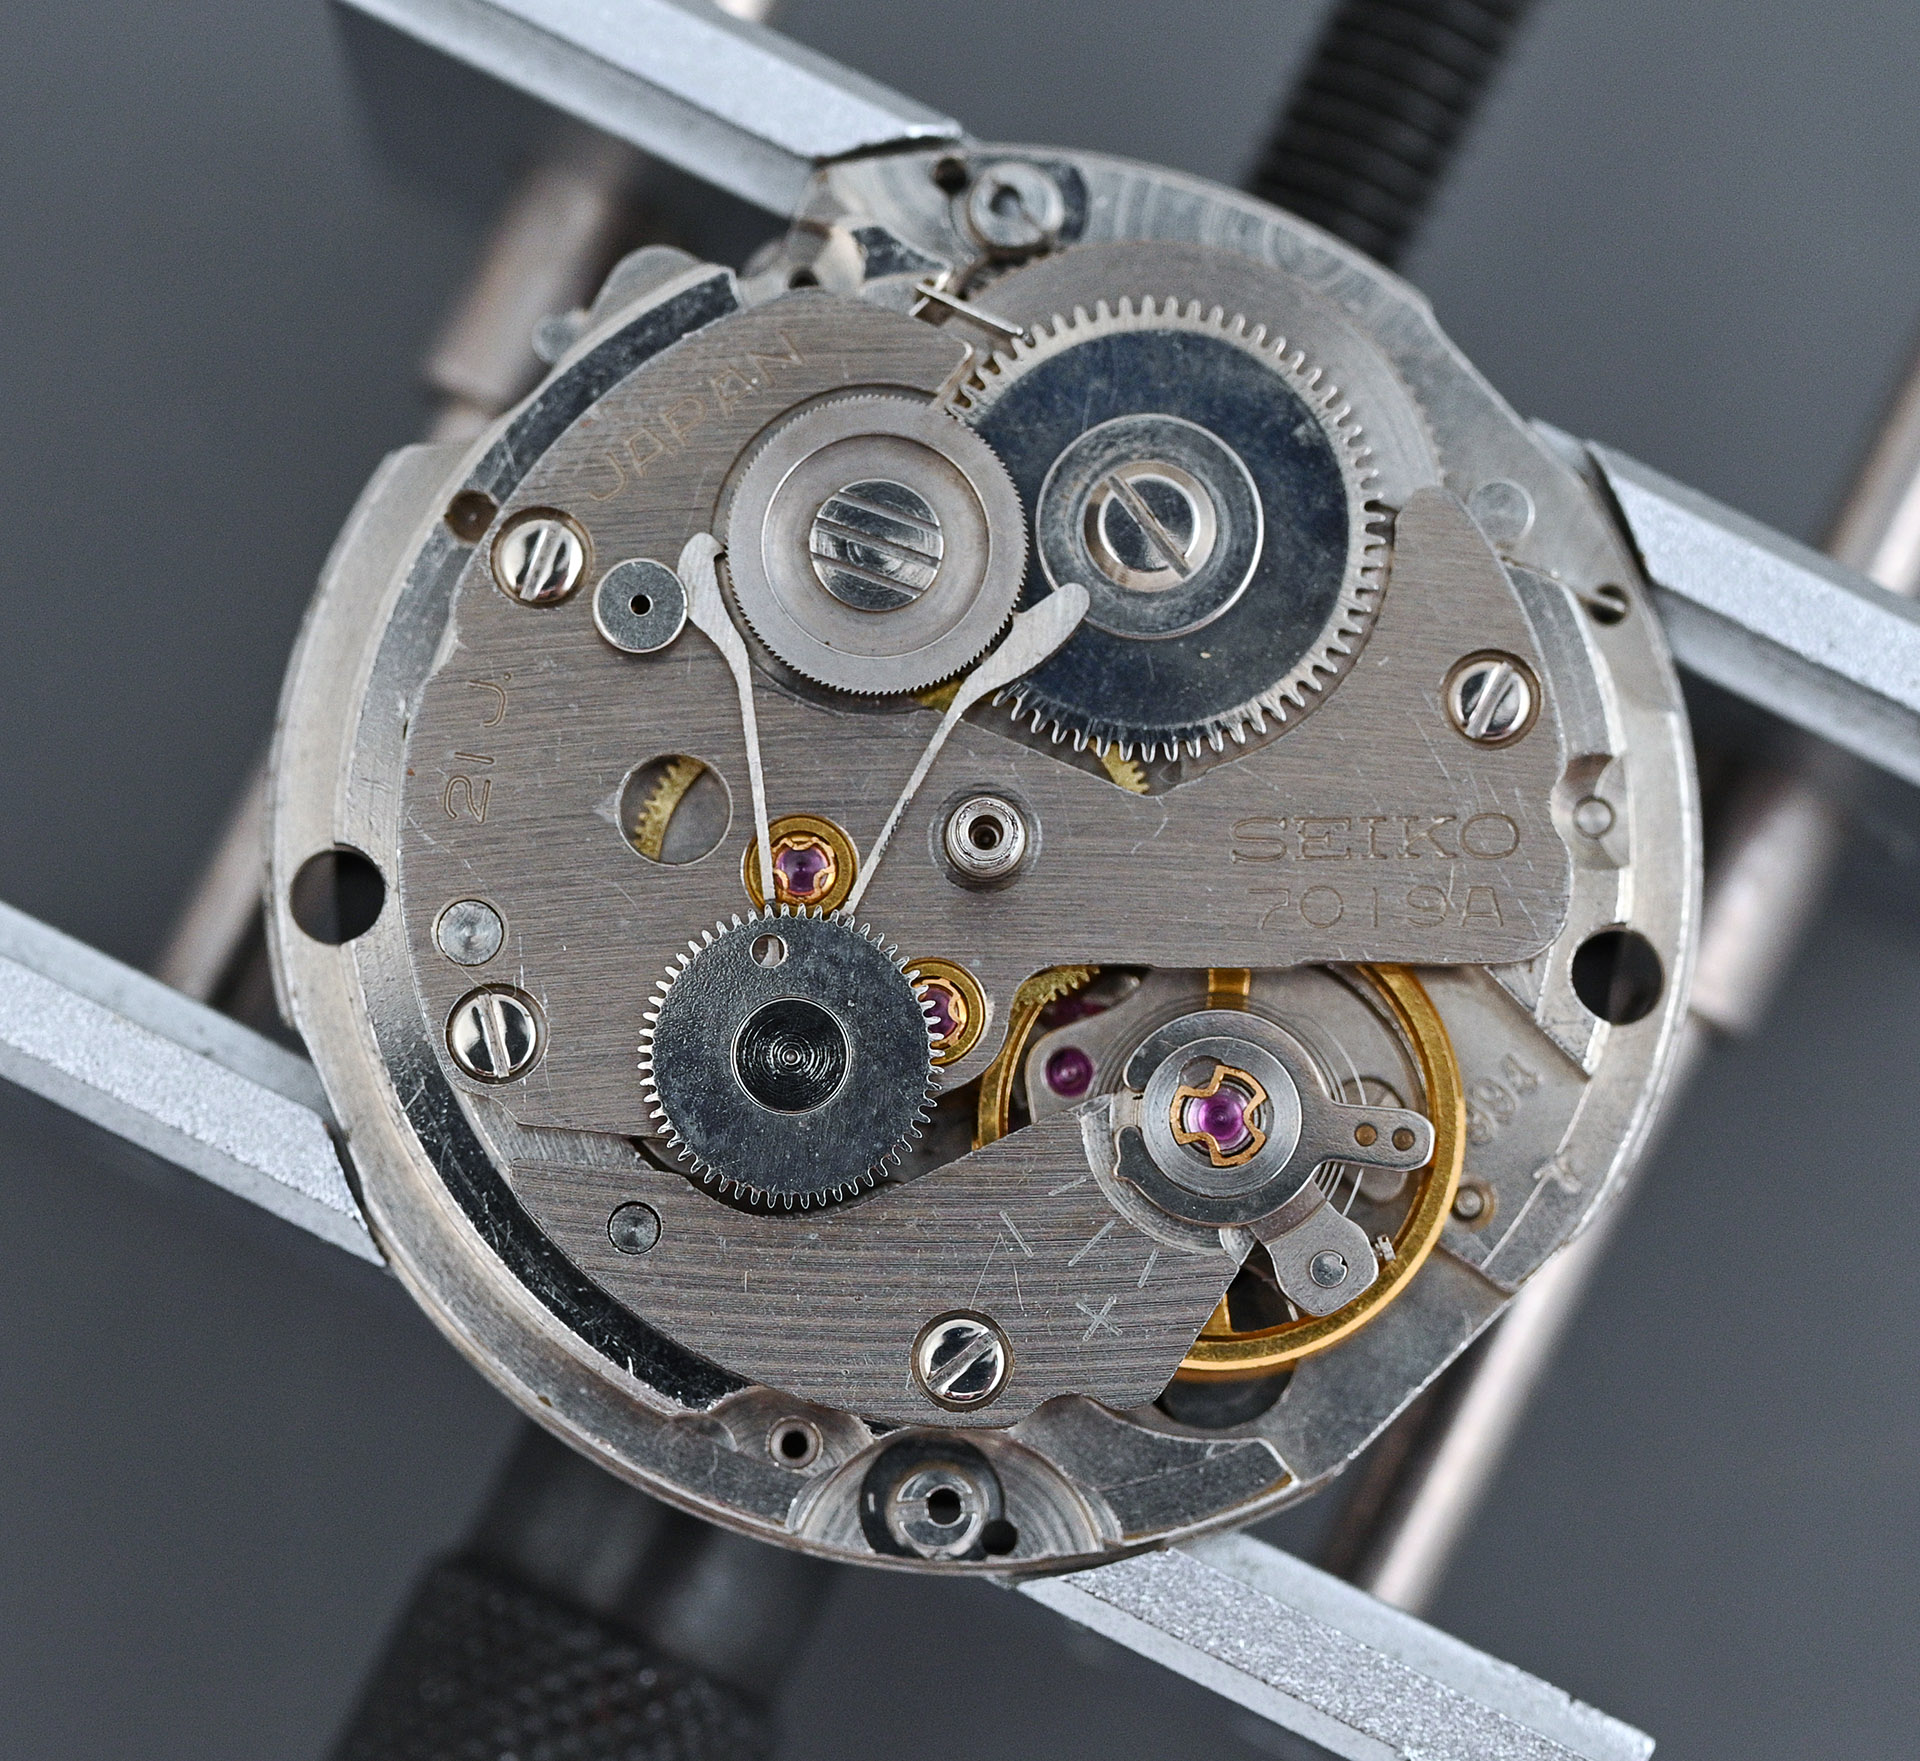
In contrast to the integration of Seiko’s magic lever automatic mechanism into every other automatic Seiko movement produced up to this point, in this case, the pawl lever, first and second reduction wheels are all mounted directly onto the top of the train bridge rather than onto their own, separate auto-winding bridge. The appearance is inelegant to my eyes and combined with the straight cut bridges, lends the movement a cheap and cheerful demeanour commensurate with the impression that, in 1970, this design sat squarely at the bottom of the Seiko automatic movement food chain. Still, appearances can be deceptive, so let’s plough on. The technical manual directs us to move to the calendar side next and so this is where we head, noting, as it transforms into its constituent parts, the mounting of the day jumpers on top of the date dial guard, a sure sign of an adapted design rather than one integrated at conception.

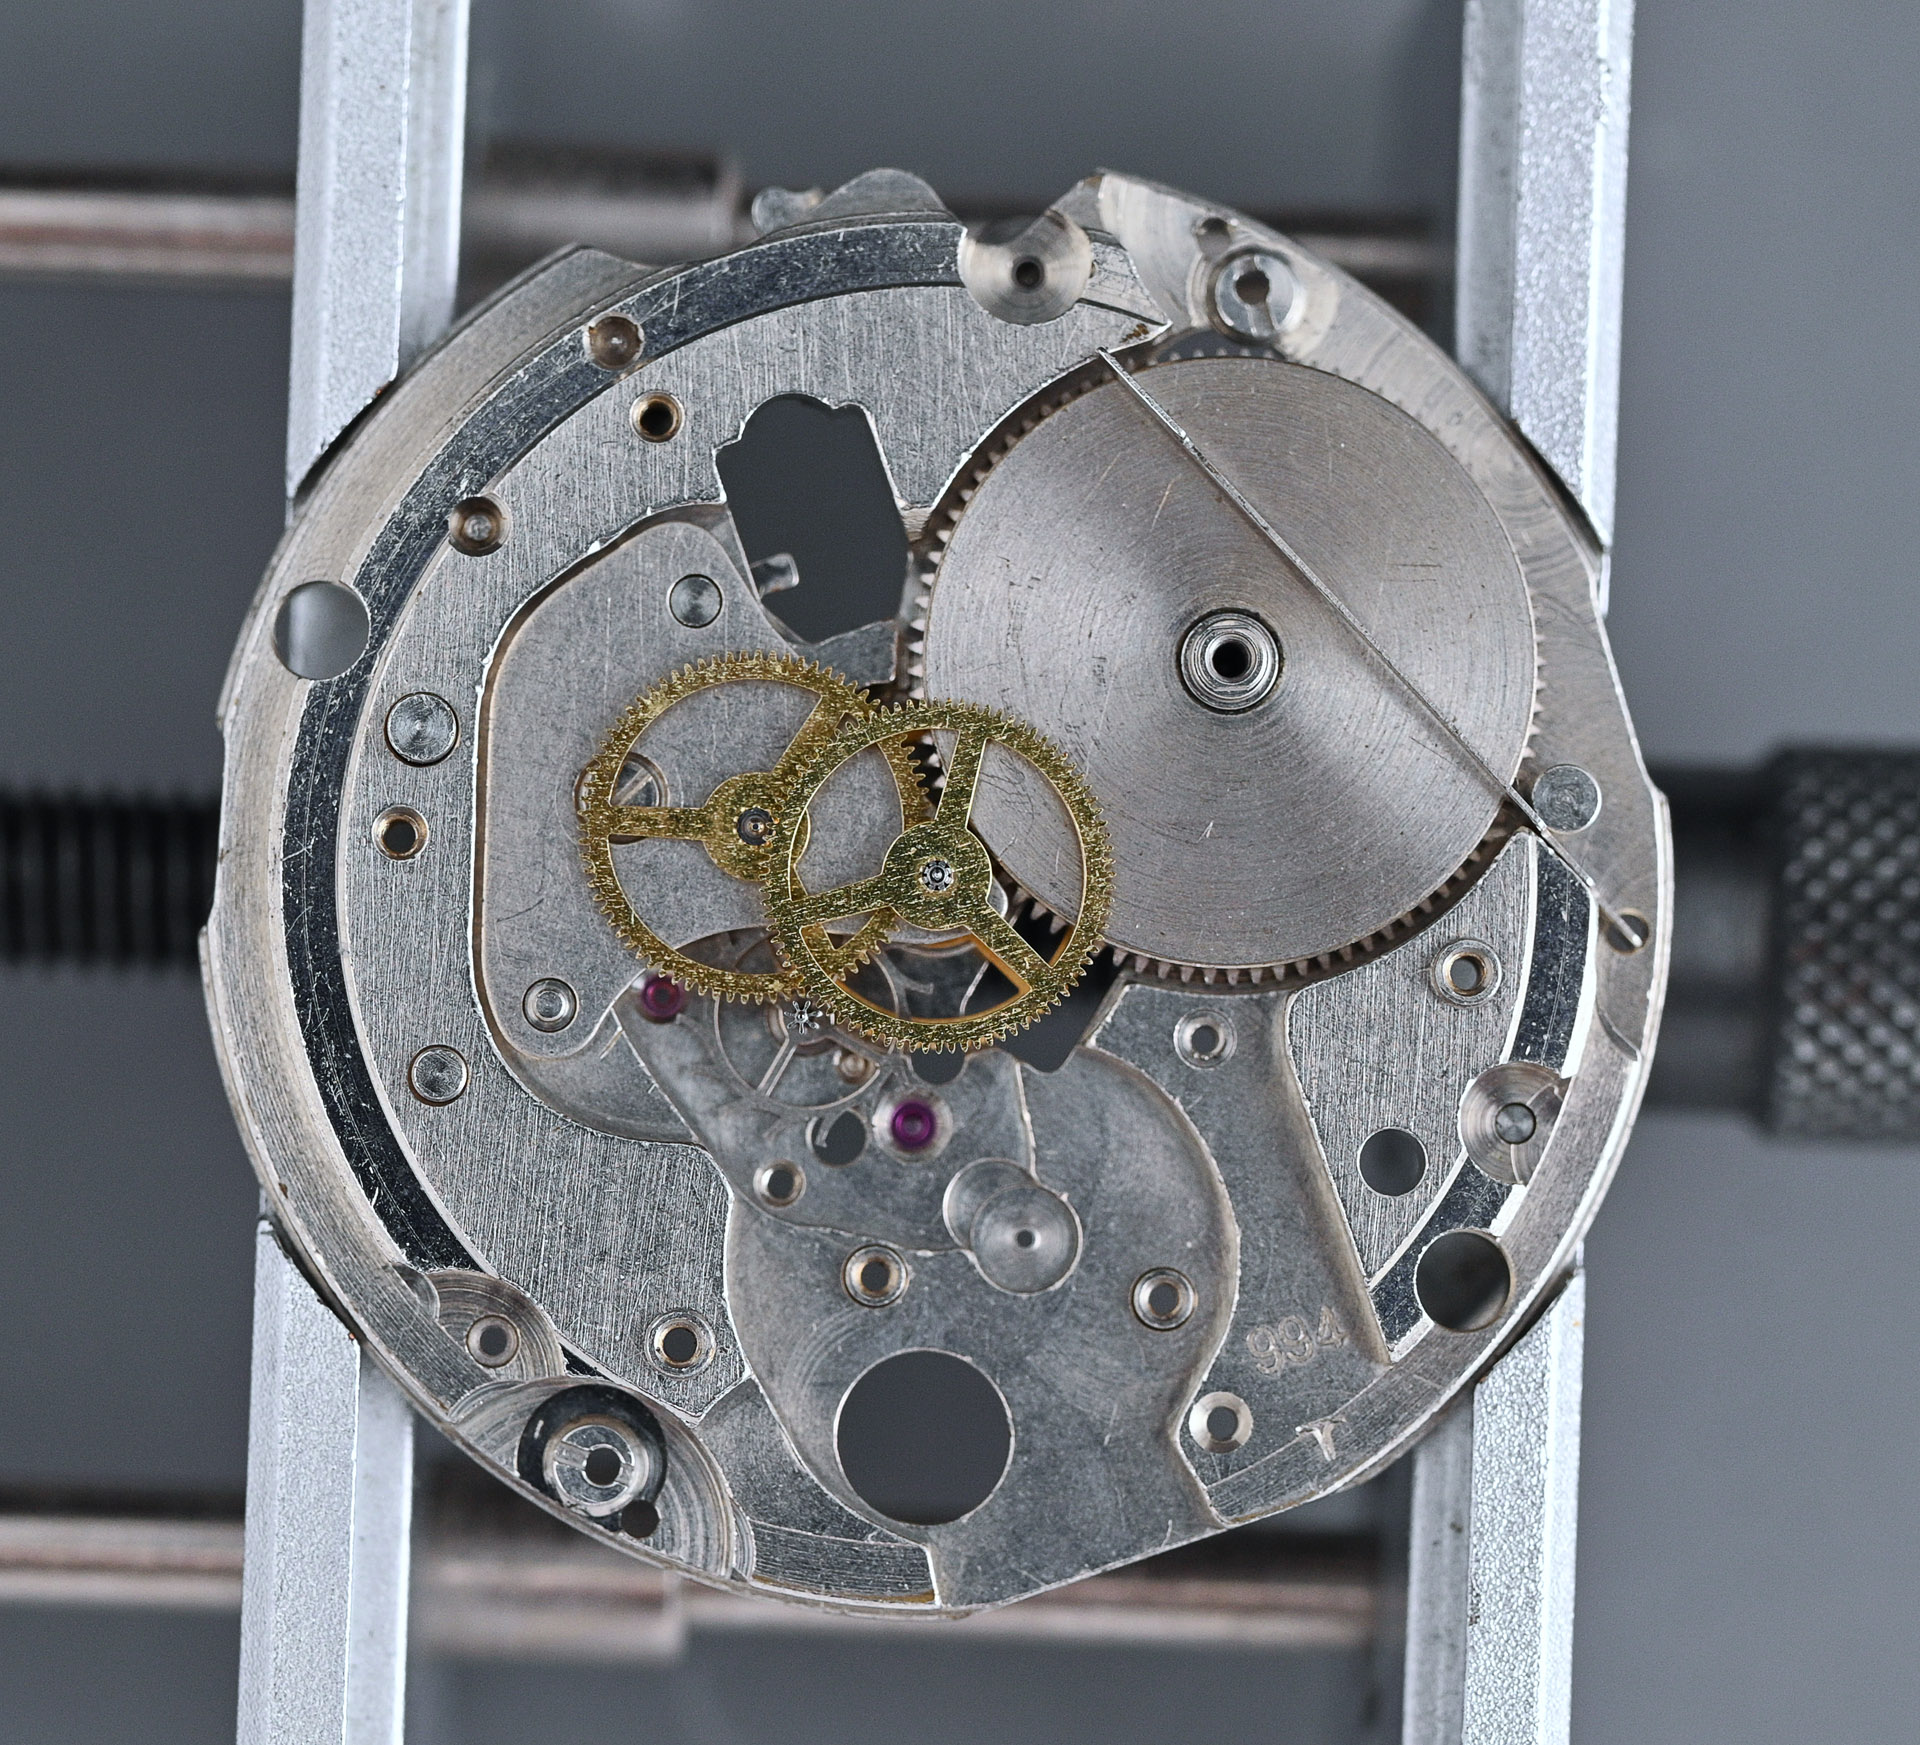
The calendar design retains the Daini hallmarks of a degree of engineering complexity, sitting somewhere between the simplicity of the Suwa calendar design of the low beat 61 series and the manifest complexity of the Daini 51 series. We finish for the moment on this side by removing the cannon pinion, in preparation for the release of the centre wheel in due course.
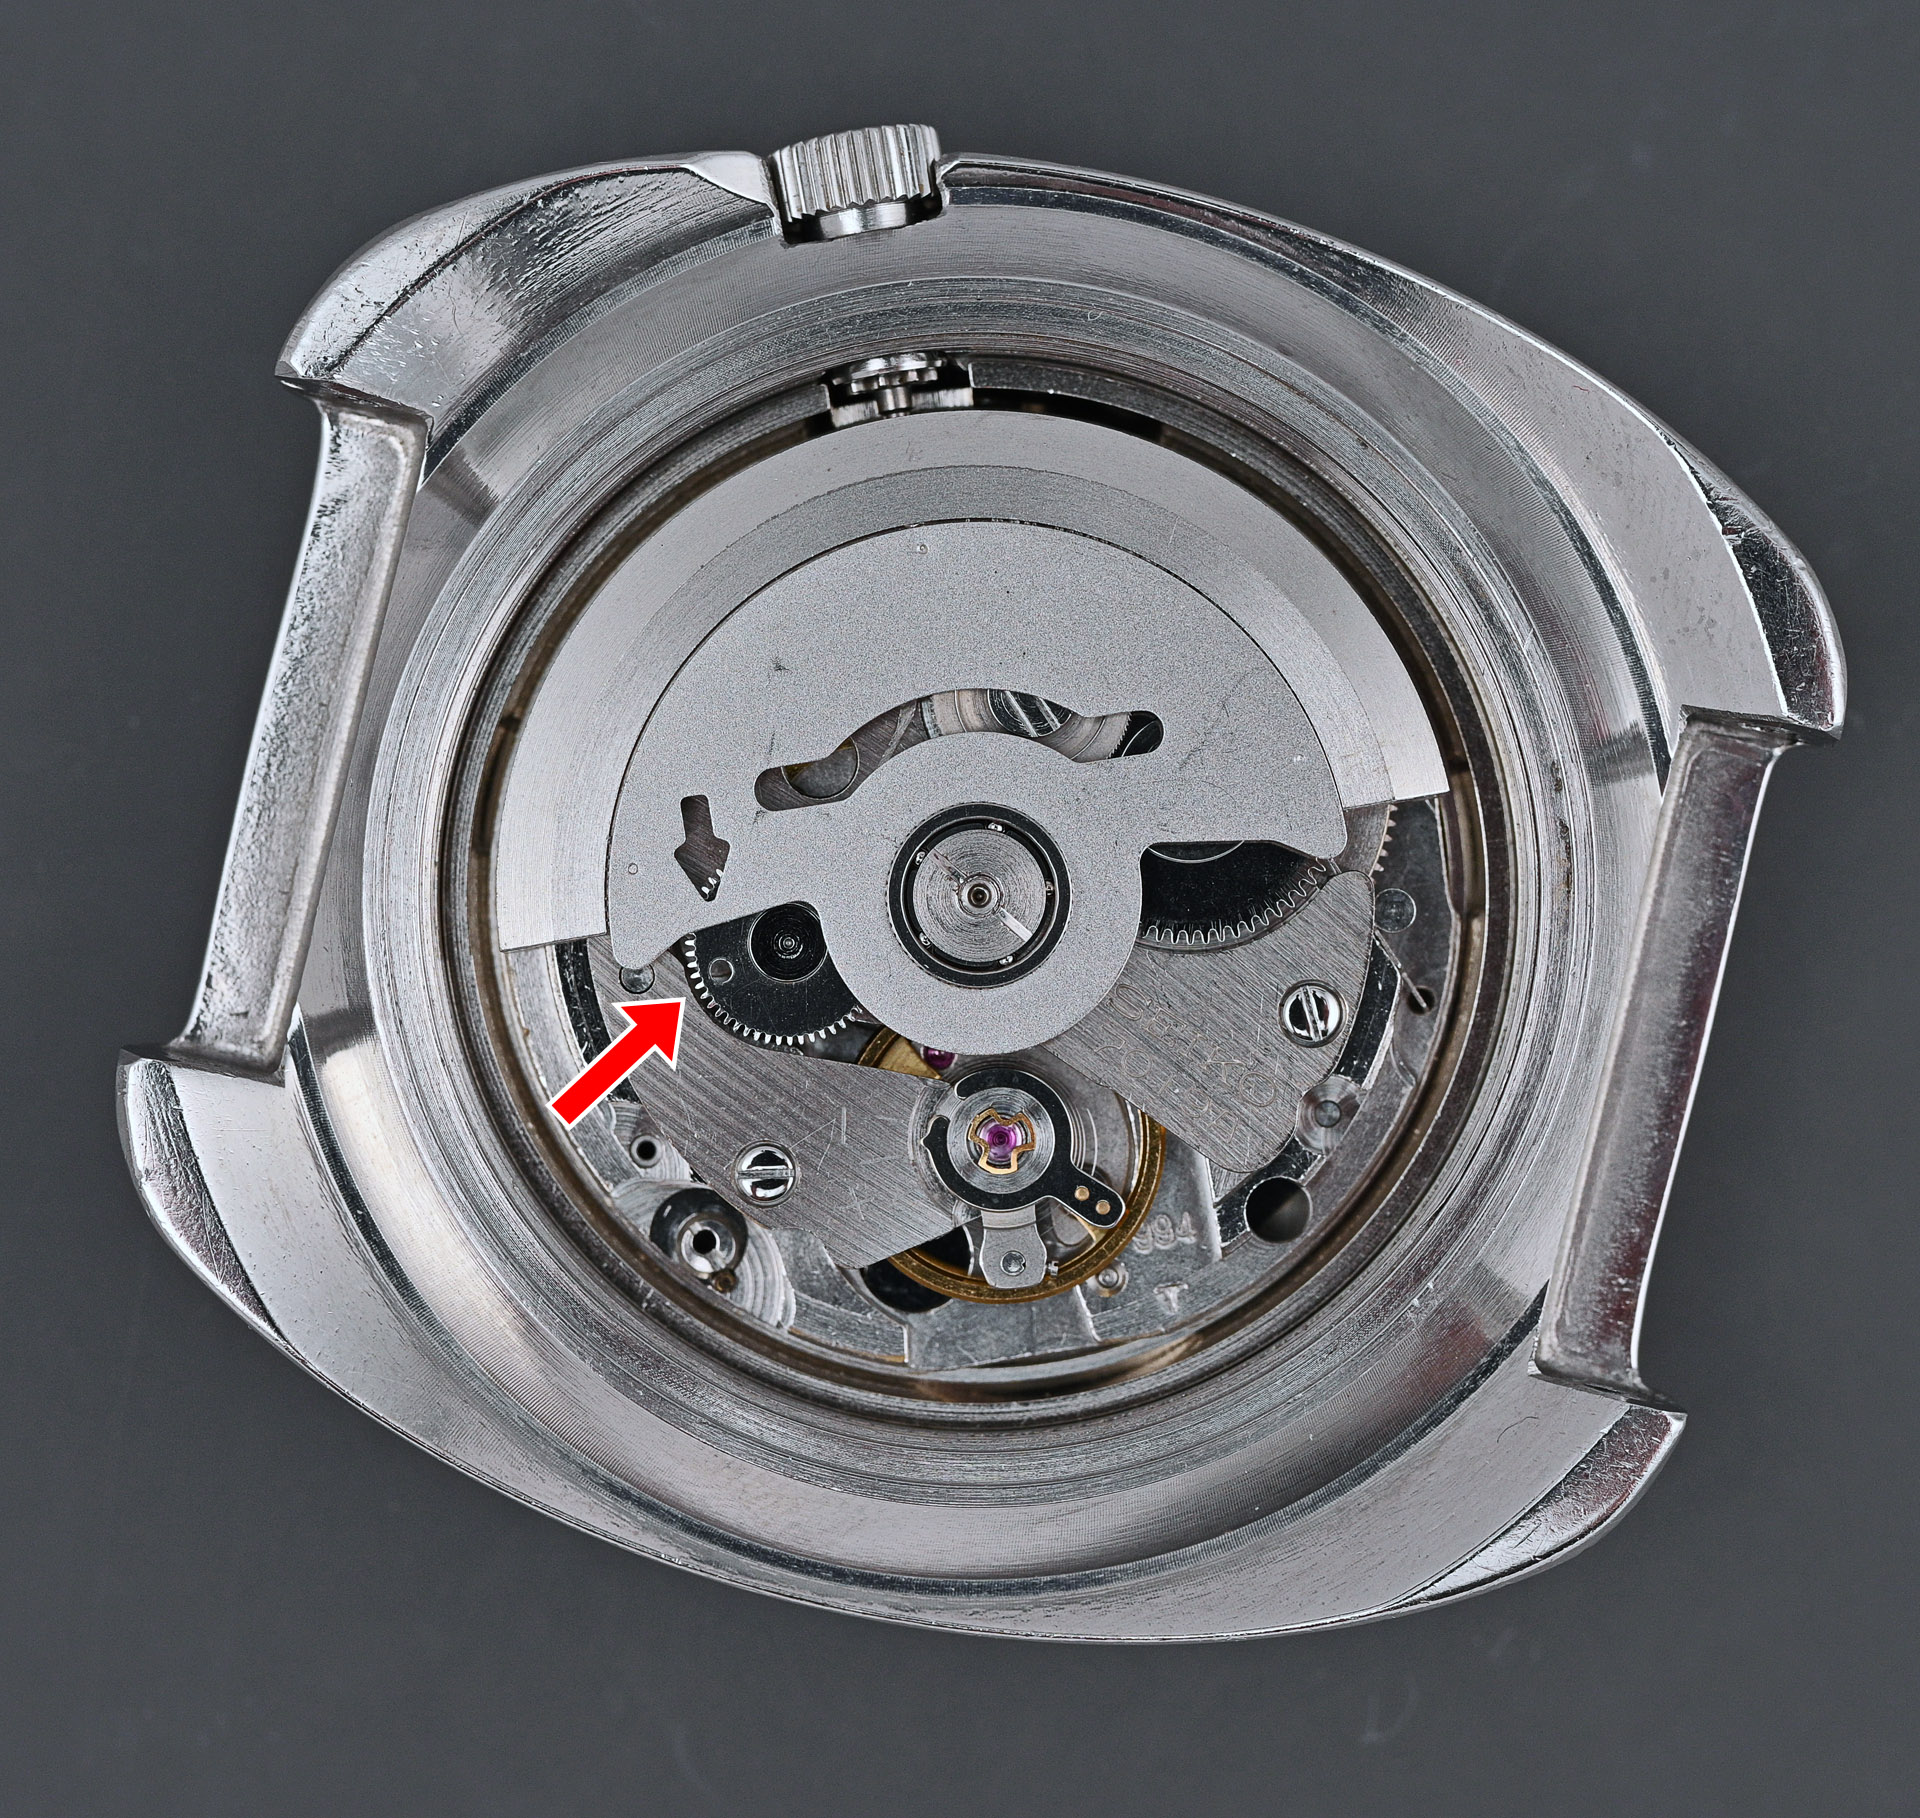
Back to the train side, and we can remove the barrel and train bridge, complete with the captured first reduction wheel. The latter is secured using a c-clip (indicated below).

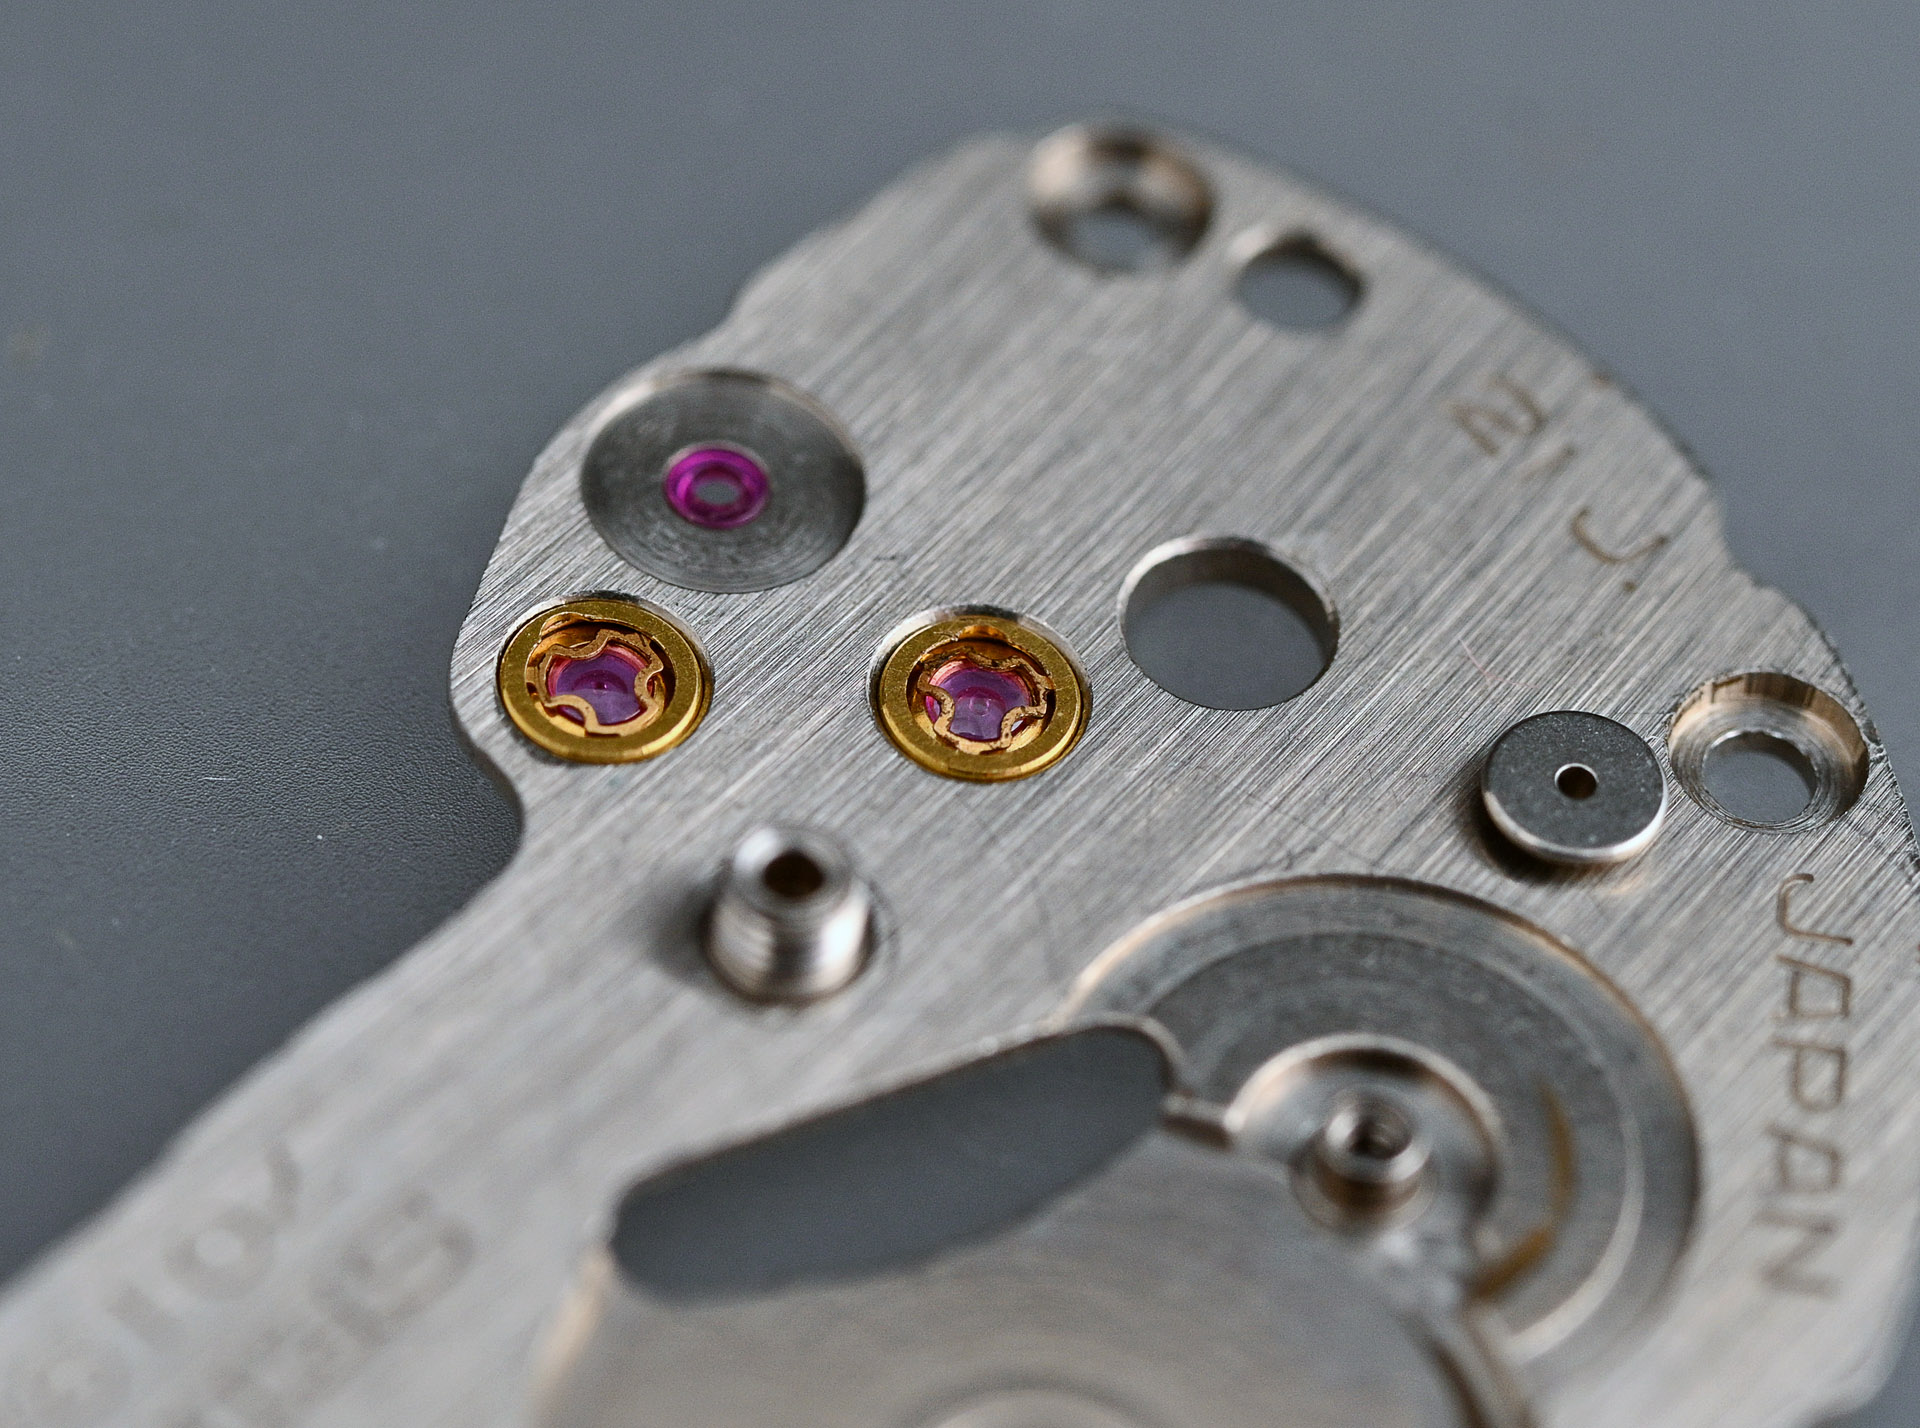
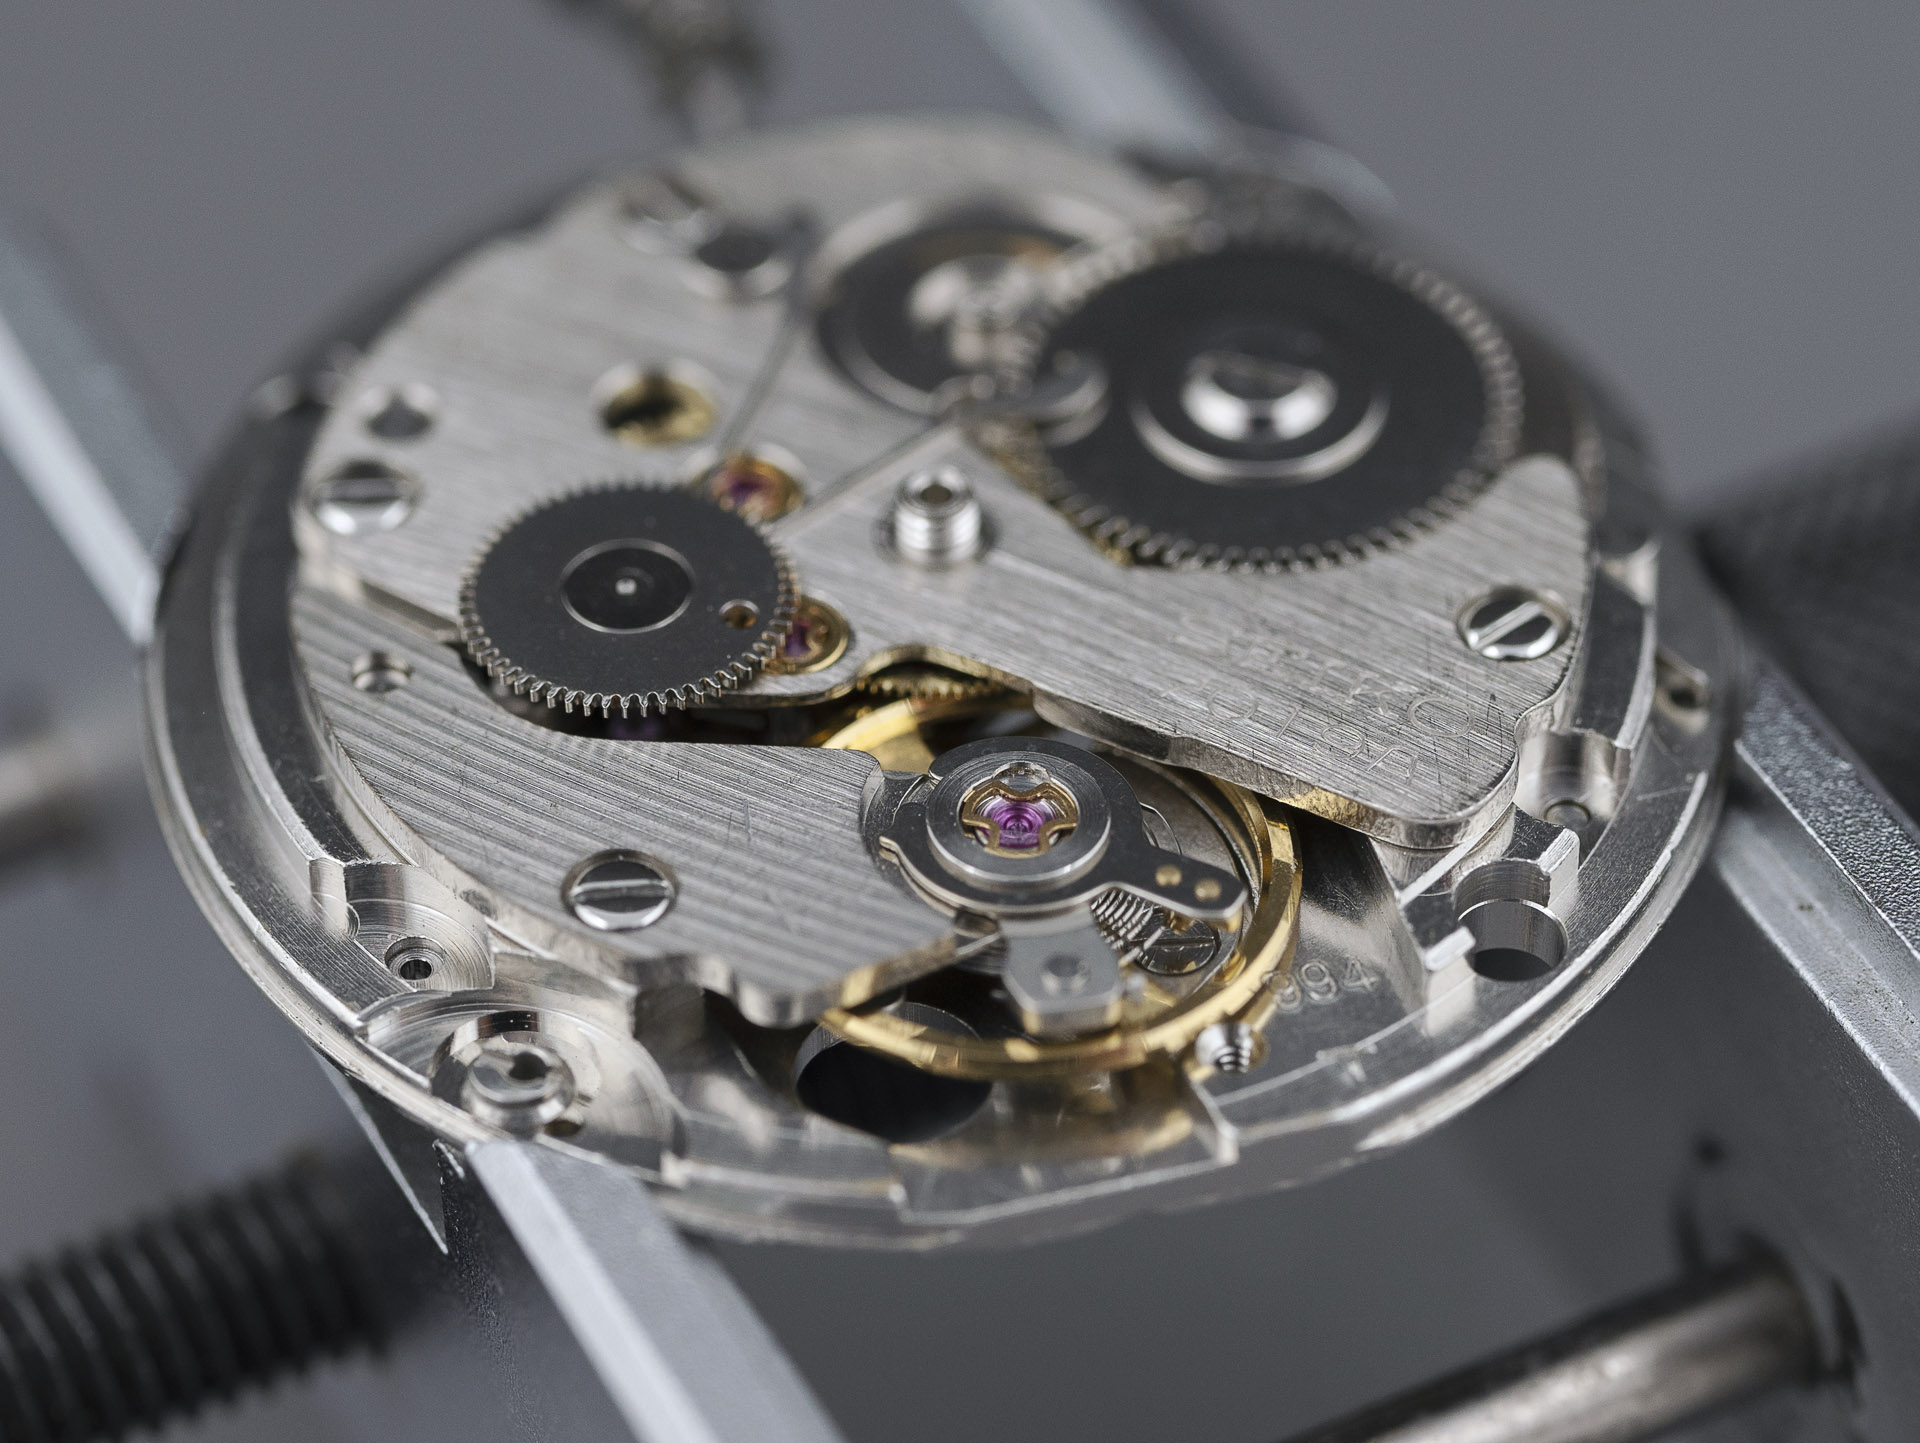
You will notice the two jewelled bearings serving the escape wheel and third wheel to the rear of the bridge. In the 7019A, these are both Diafix settings, sporting a separate cap jewel, but unusually in this case, secured into position using mini-Diashock-style three-pronged springs.
With the bridge removed, we see that the train wheel arrangement is entirely conventional. No surprises here.
As usual, the last order of business before dispatching the parts to the cleaning machine, is to remove and assess the state of the mainspring. Before releasing it from the barrel, it presented as a typical original mainspring smeared liberally with molybdenum grease. However, once free, it required only the faintest of interactions to encourage the slipping bridle to become detached from the tail of the mainspring, thereby rendering it useless.
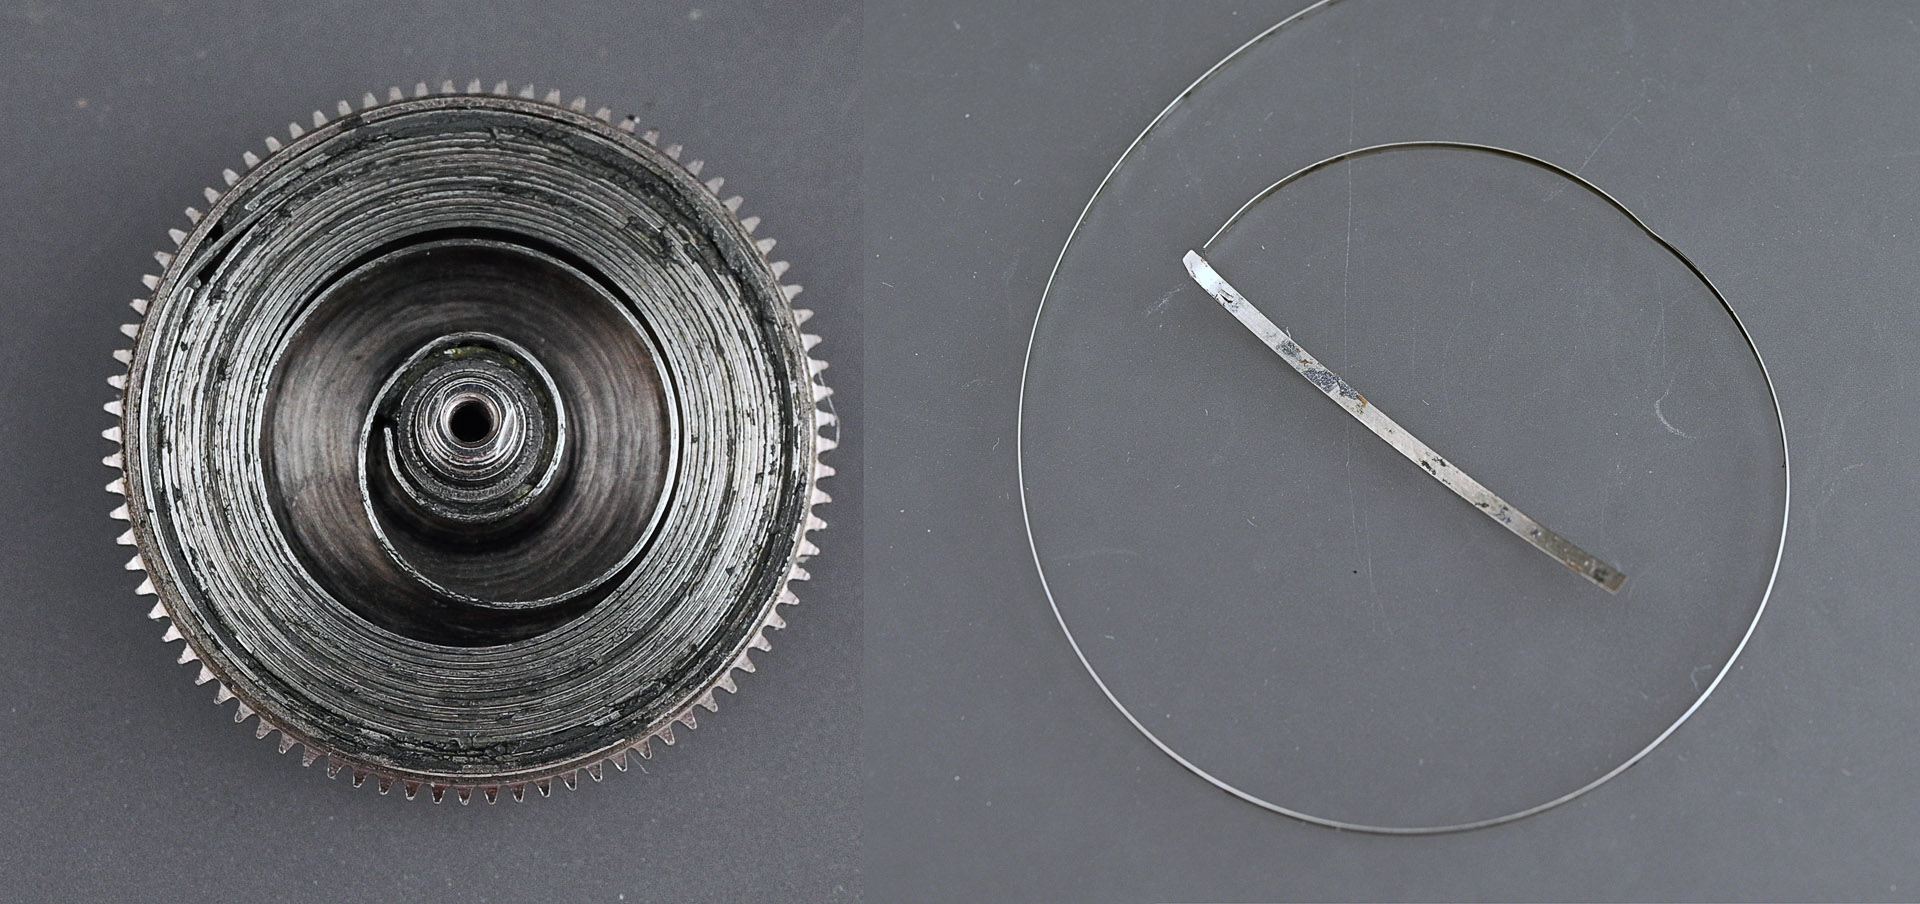
At this point, all of the movement parts are consigned to agitation in noxious substances while I tackle the case. This latter task proves straightforward, barring one minor impediment to progress.
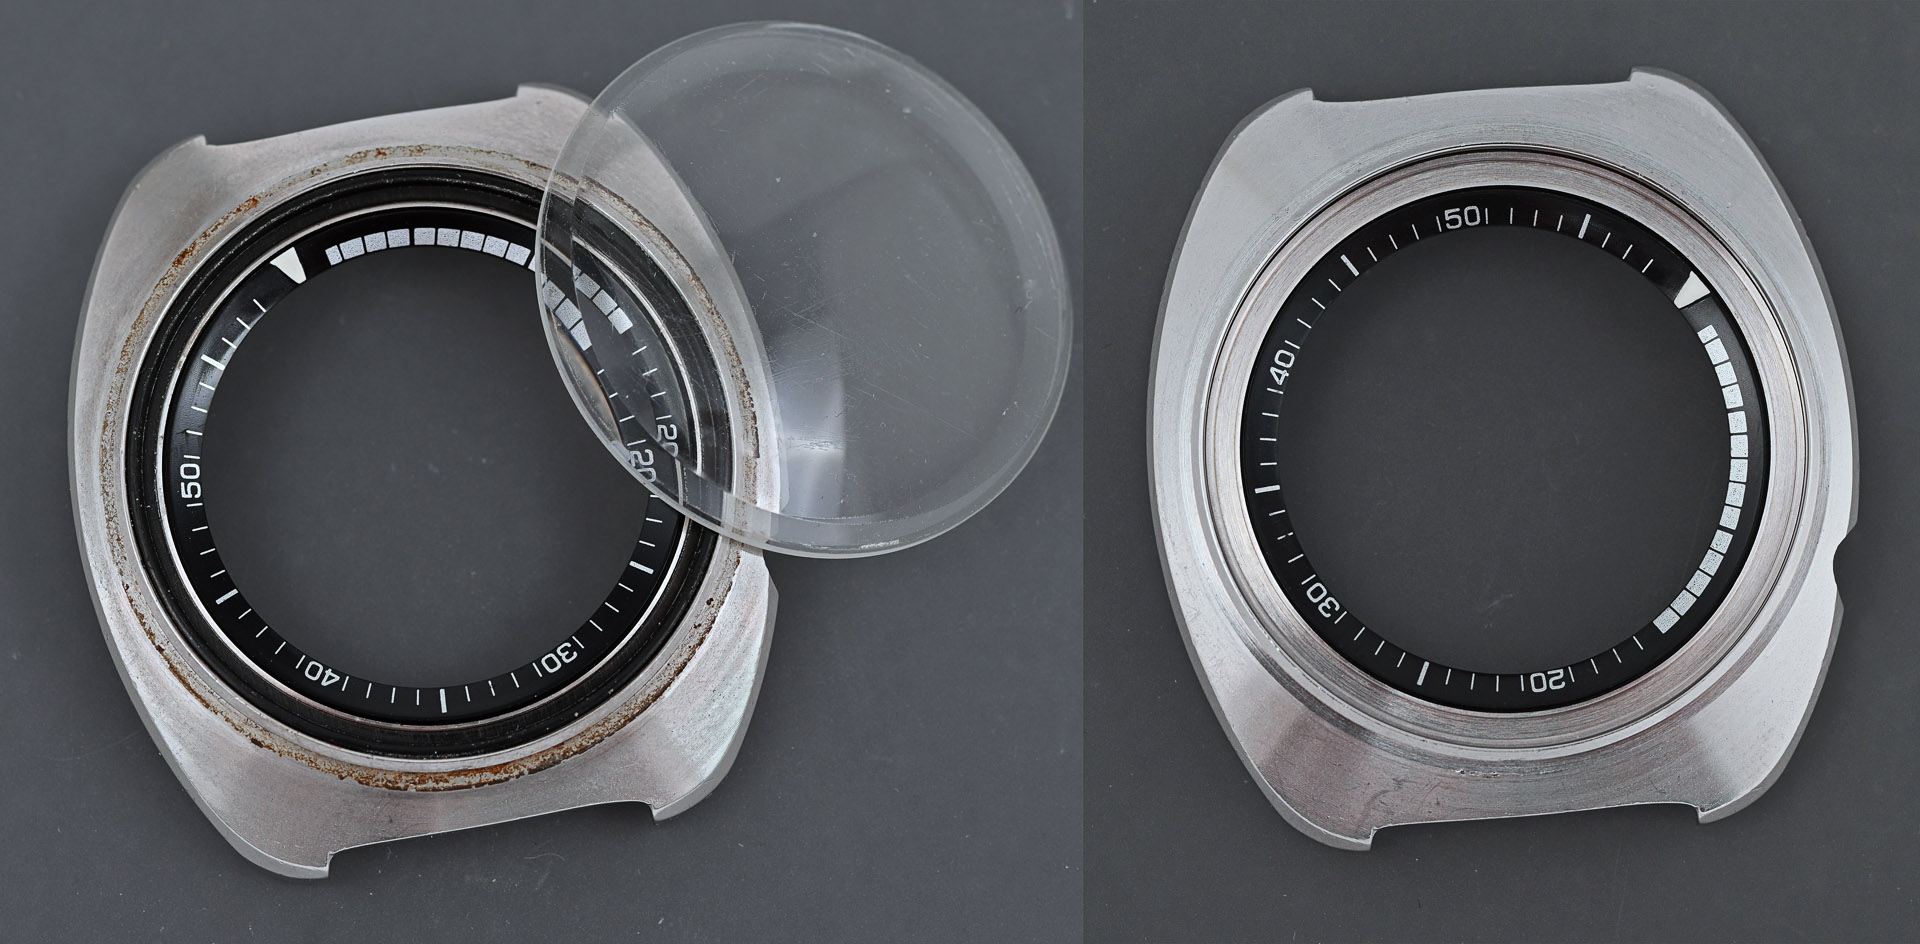
The case was reasonably grubby but cleaned up nicely. Before refitting the internal bezel, I relumed the triangle with fresh lume, applied directly on top of the original lume. The crystal gasket was partially hardened and not fit to be reused and so I fitted a new EC3260B gasket that had taken nearly two months to reach me from continental Europe. This provided a nice virgin base on which to rest an original Seiko 330W16GN crystal but my attempts to get it to seat correctly were initially thwarted. In the end, I had to resort to a smear of silicon grease around the edge of the crystal to ease its way into position.
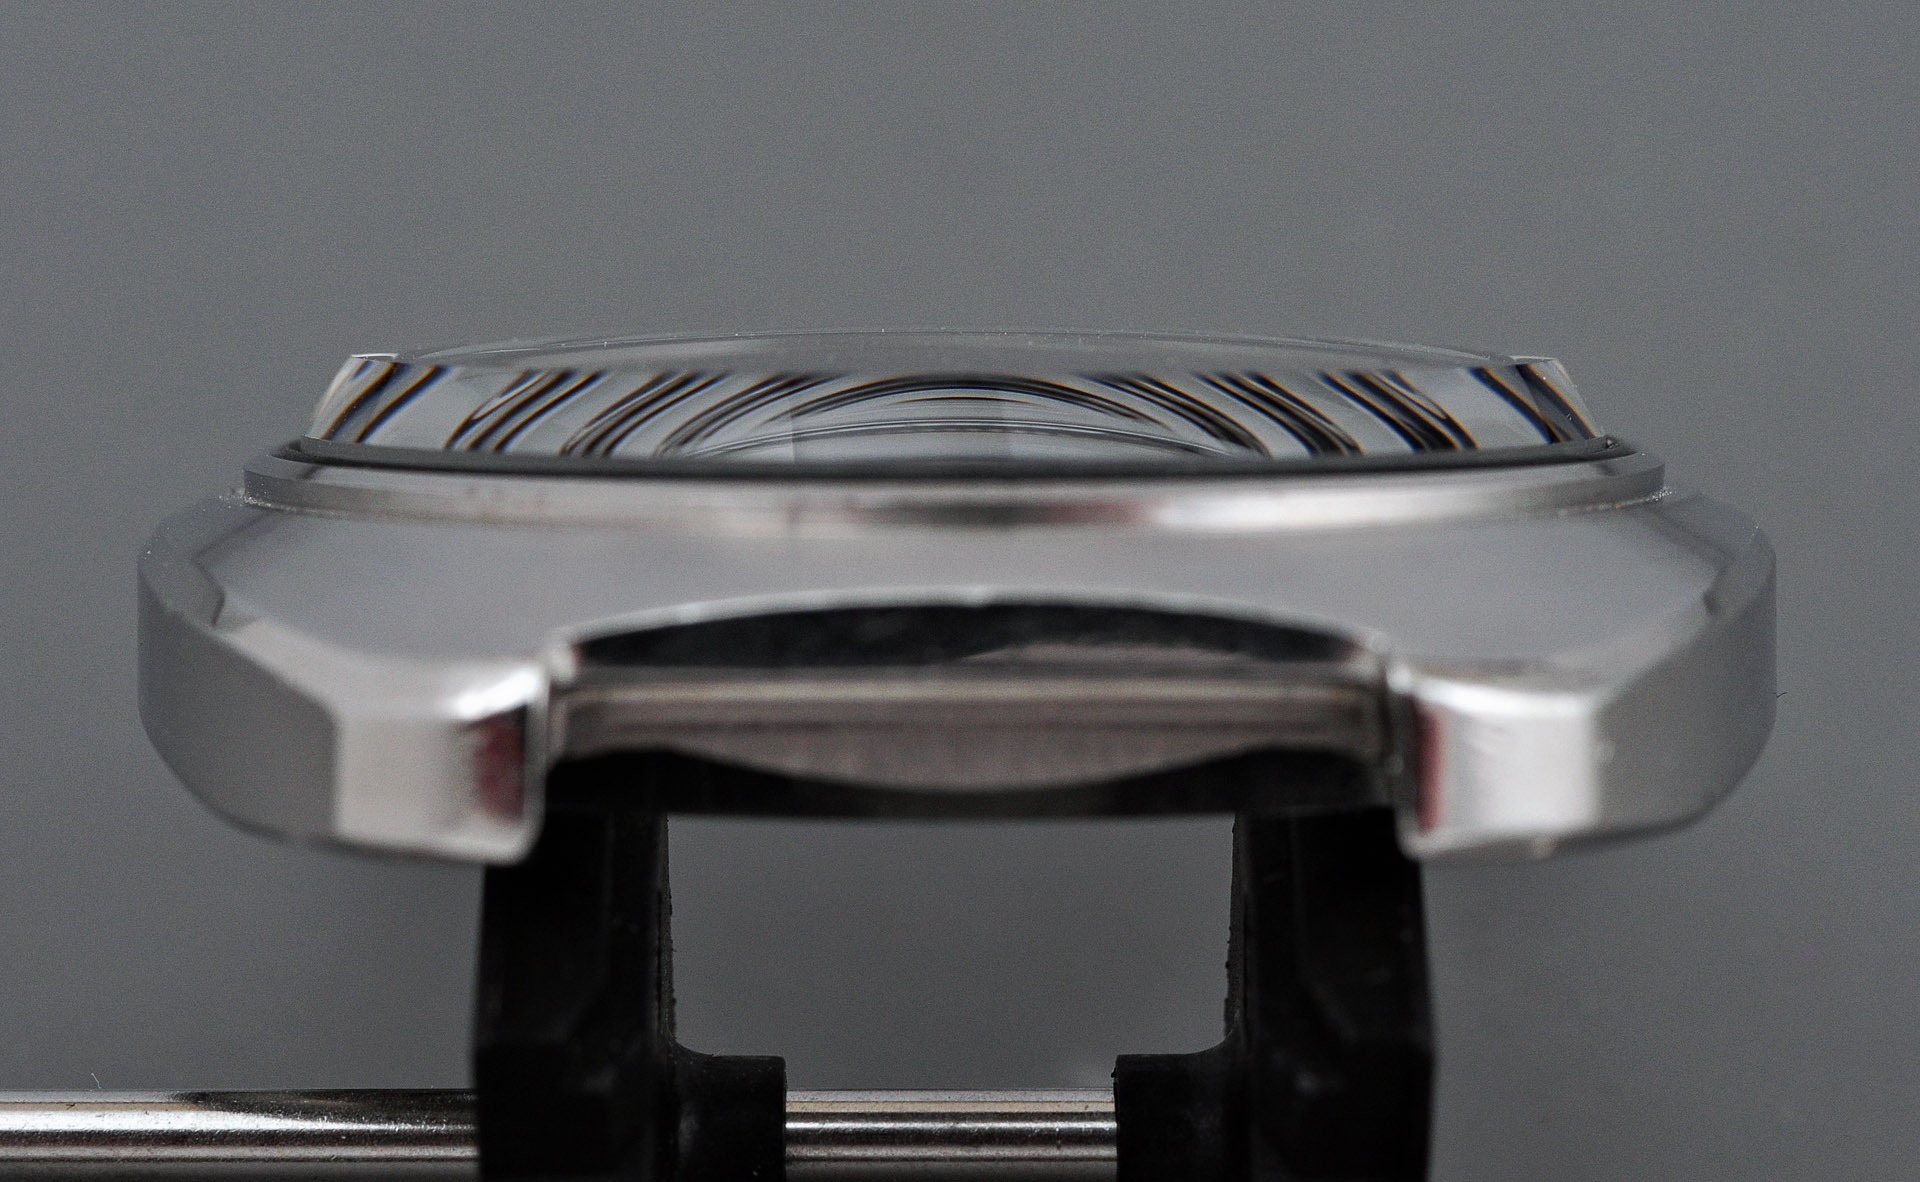
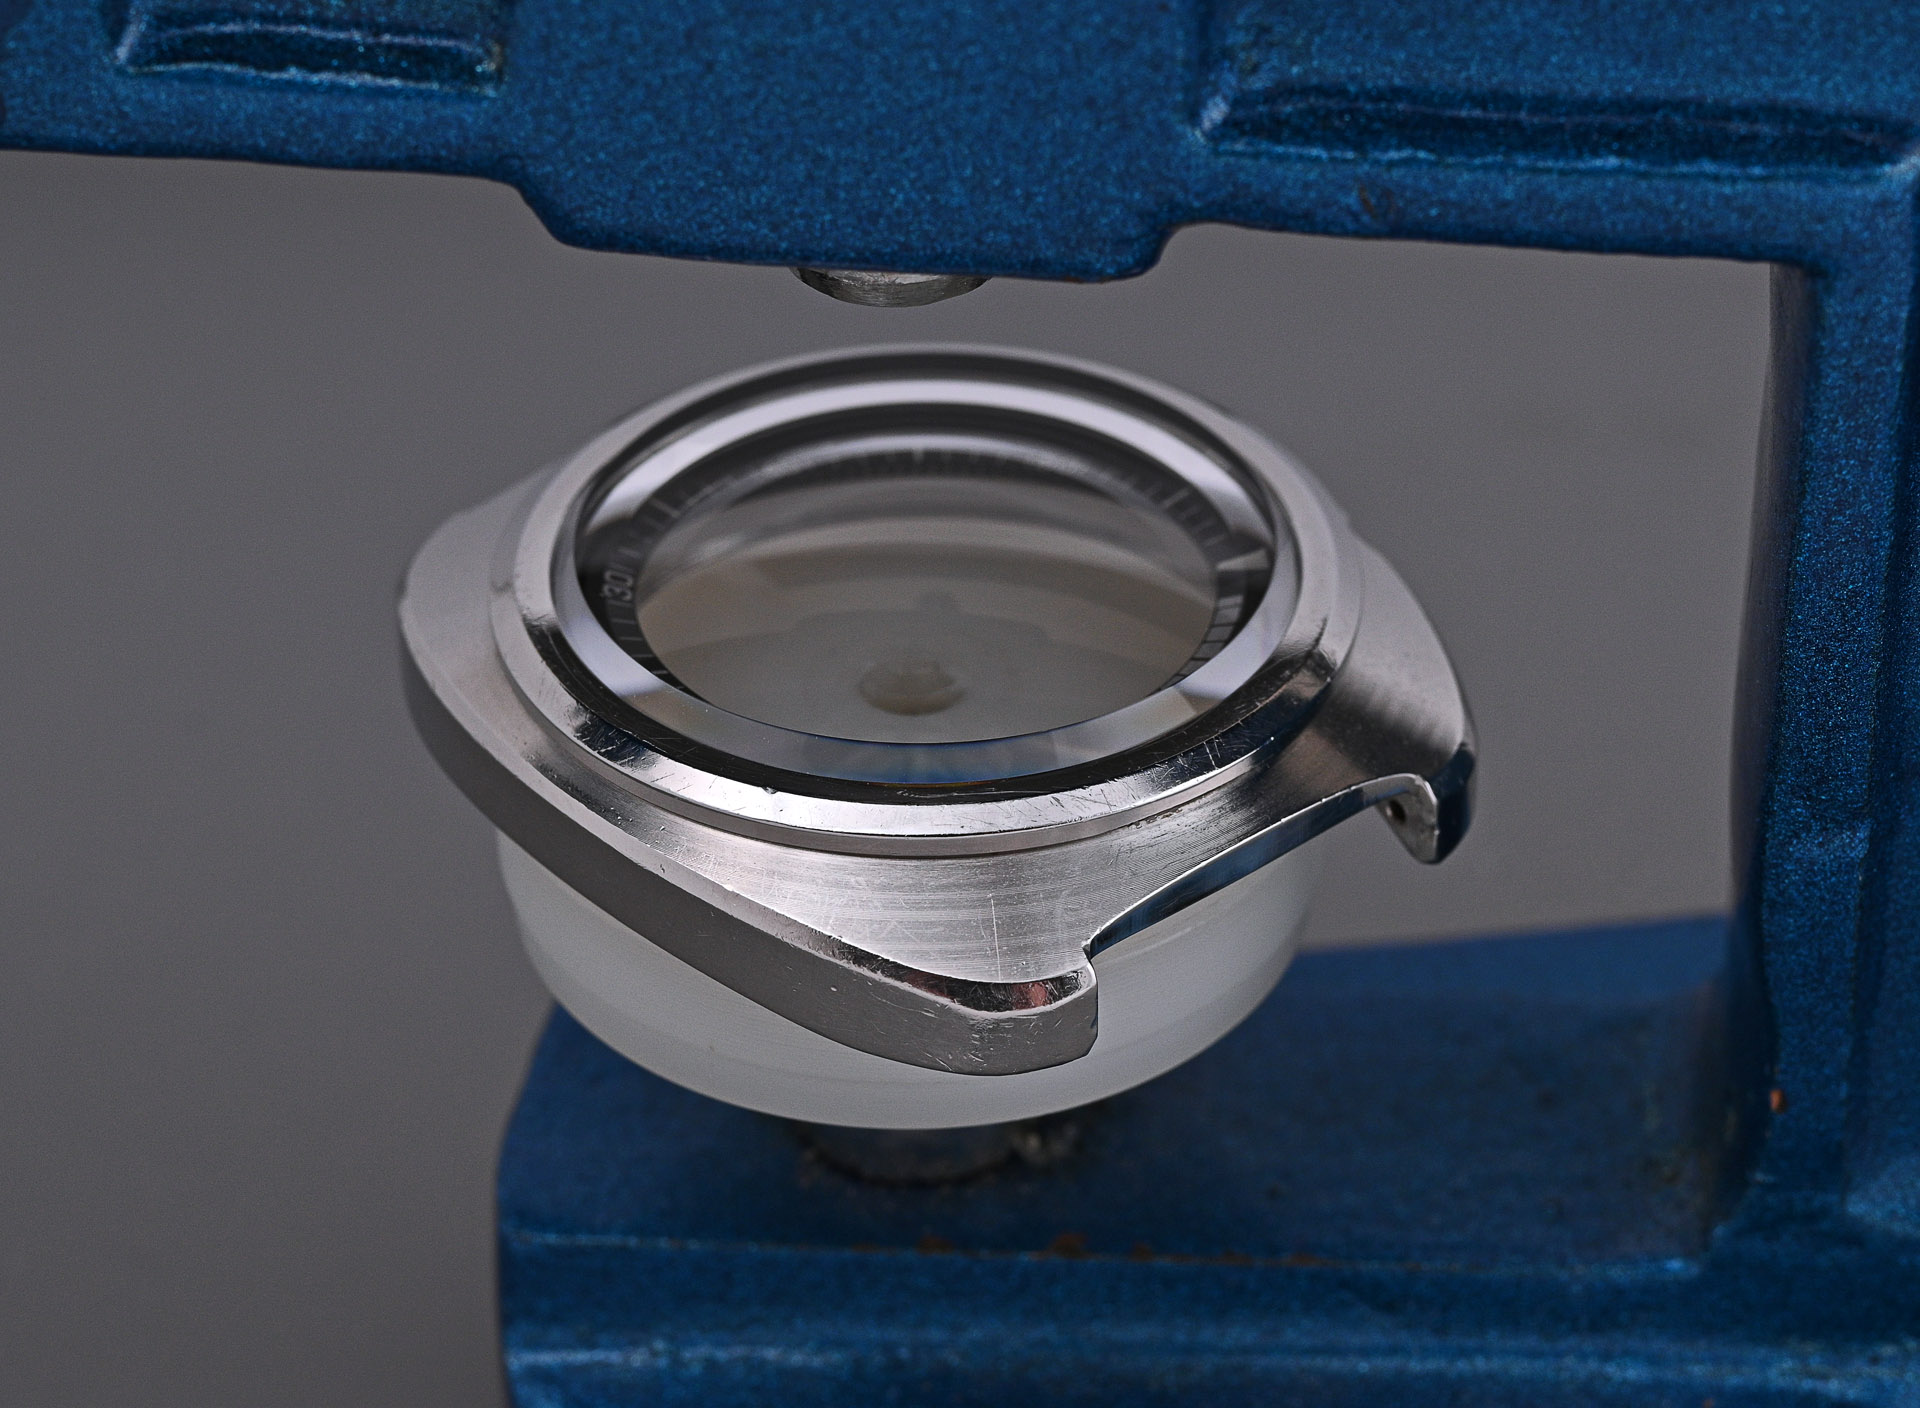
With that done, the crystal is secured in place by pressing home the external steel bezel.
With the movement cleaned, we begin the reassembly with the setting parts, noting the way in which the tip of the setting lever moves outboard as the crown is pulled into the time-setting position, thereby presenting itself ready to be depressed should the crown need releasing.

Turning the movement over, we can fit the centre wheel and its bridge.
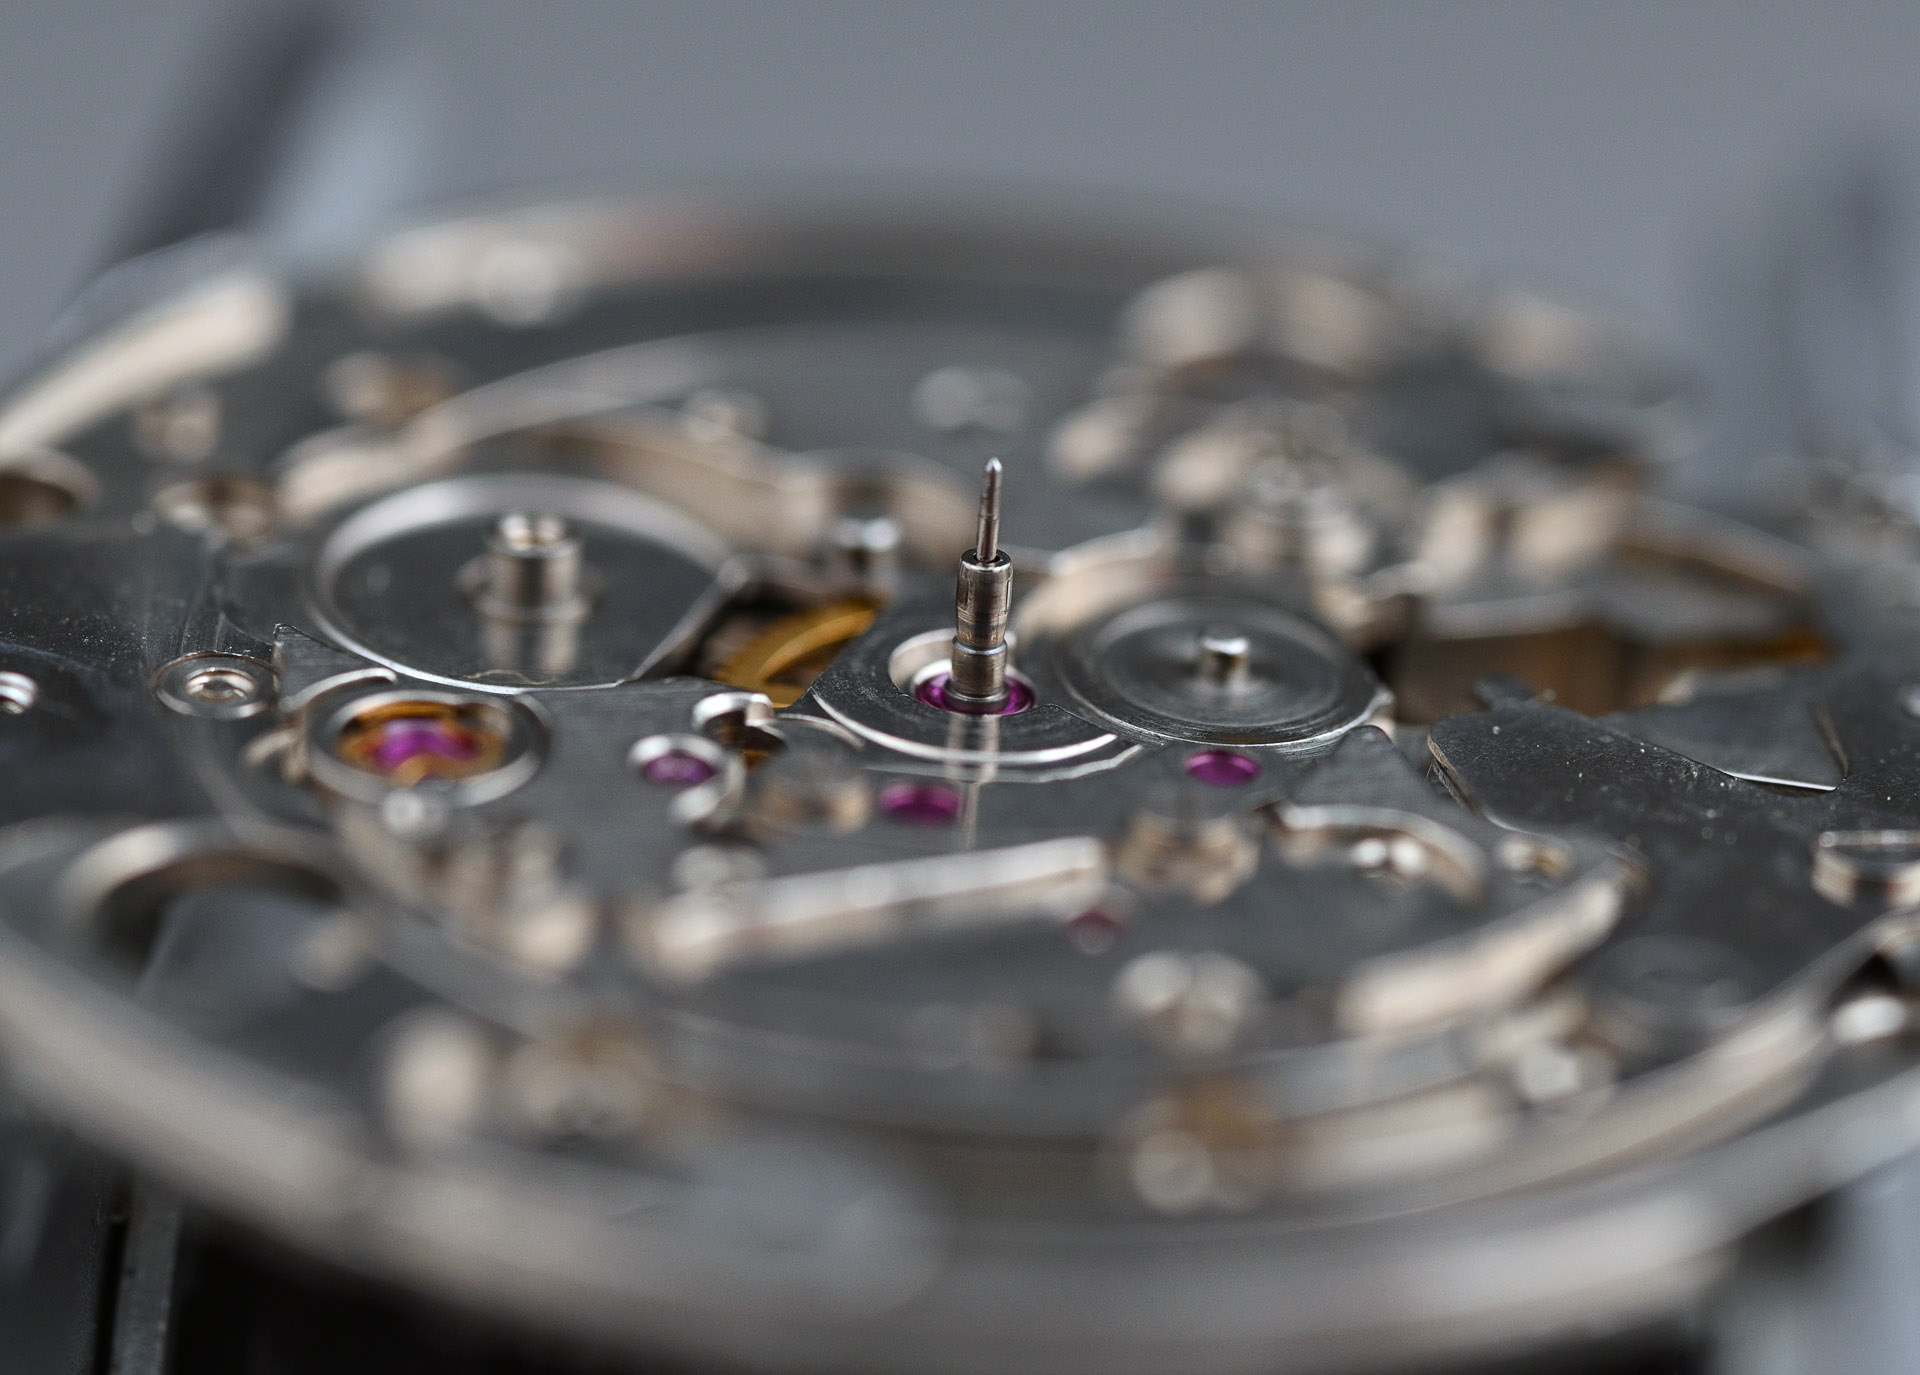
And in the interest of getting fiddly stuff out of the way, I refitted the train bridge Diafix cap jewels and their mini-Diashock springs and oiled both settings from the rear using my automatic oiler.

The mainspring comes next but we remember that the original is toast. I salvaged a replacement from a spare 7005A, cleaned it and set about winding into the mainspring winder drum. The clockwise rotation of the spring in its barrel means that we need to wind it into the mainspring winder counter-clockwise. Happily, the nub on the shaft of my mainspring winder handle was able to find purchase easily and I was able to complete the operation without incident.
The gear train, including the barrel with freshly installed mainspring, are fitted to the main plate, at which point the bridge secures them all into position. But first we need to fit the first reduction wheel and pawl lever to the train bridge and it was at this point that I made a silly mistake, my faculties blunted by circumstances outwith my control (nothing to do with intoxicating substances). In spite of the mitigations, I am happy to own the mistake and air it here in the usual spirit of full disclosure of cock-up, calamity and disaster that occasionally befalls even the most diligent among us.

Those of you who frequent my Instagram feed (@amateurwatchfettler) will know already my error (or will have spotted it straightaway). If you’ve not yet figured it out, read on and all will be revealed. The bridge is theoretically ready to be refitted and this I do.

With the cannon pinion fitted on the other side as well as the lower Diashock, I refit and lubricate the pallet fork and its bridge, followed by the balance and with some power wound into the mainspring, she’s up and away.
Satisfied that the movement is fit and healthy, I can turn my attention back to the calendar side and refit those parts, reversing the order of play presented earlier.

You will notice that the day corrector spring at the top is first screwed into position unsprung before bending the tip down to locate its tip behind its post. The original hour wheel had been battered about around its top and so I sourced and fitted a new part. You will remember the glued day disk and missing snap from the discovery phase. Happily, I was able to find the former from an eBay seller in Spain and the latter from one in the (dis)UK. Here they are in place.
The next logical step is to fit the dial and hands but before I can do that, I need to make a decision about what to do about the badly-faded seconds hand. As regular readers of this blog will know, I am an enthusiast of honestly acquired patina but I don’t think the state of this hand will enhance the appeal of this particular watch.
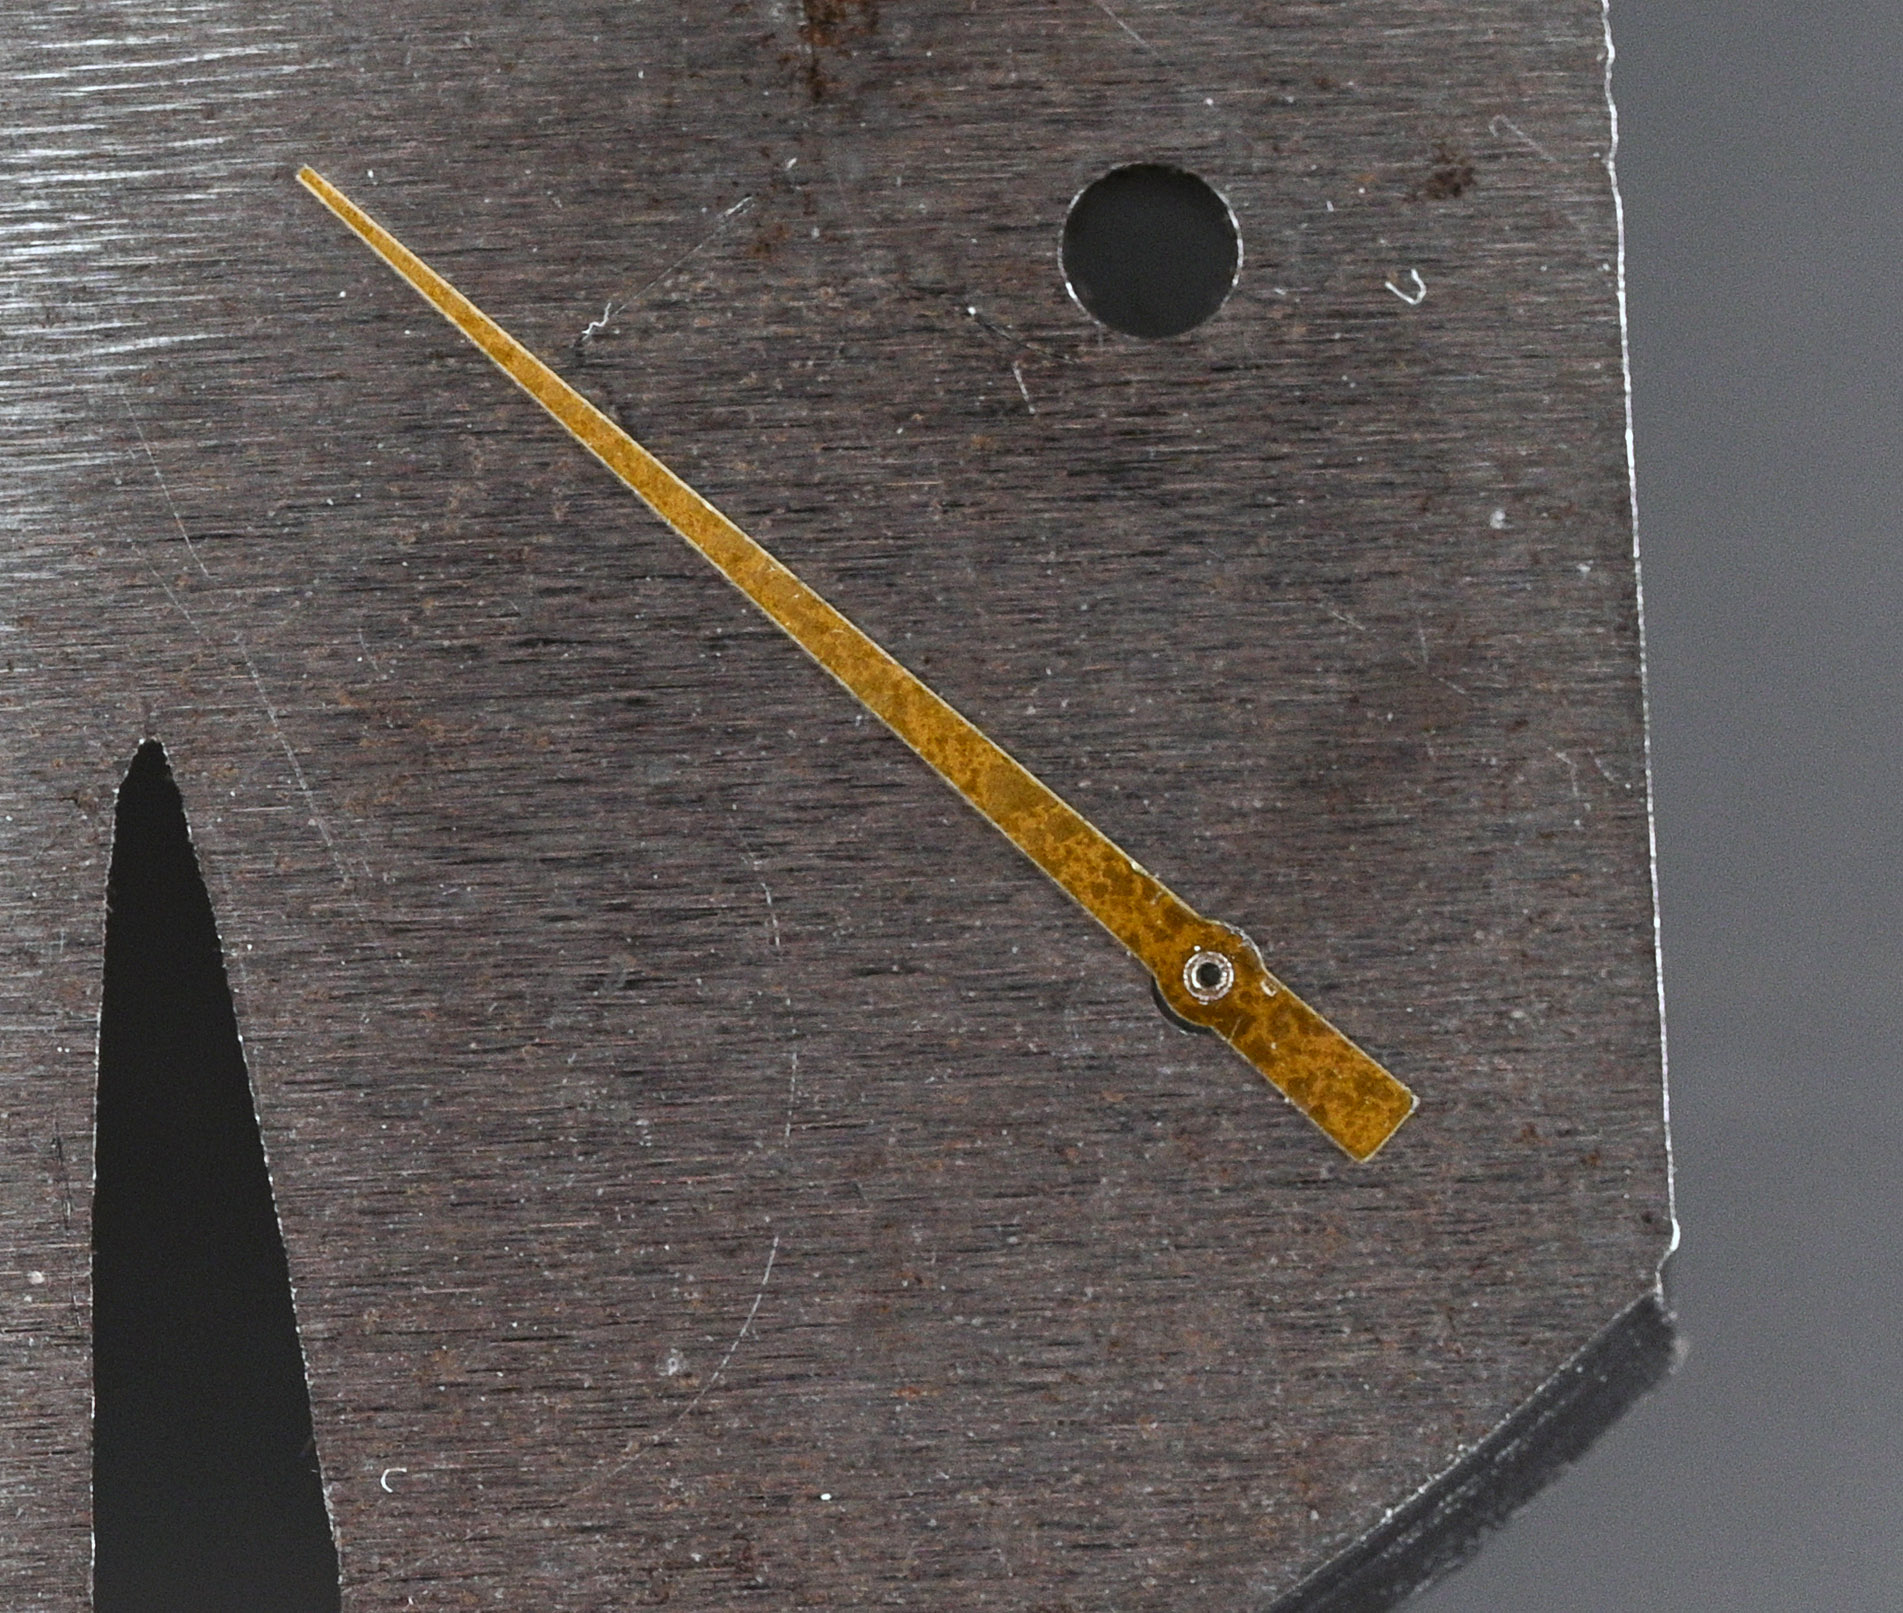
My options appear to be to paint it or to source a replacement. Let’s have a crack at option number 1 first and then assess that against option 2. I toyed with the idea of red or orange but in the end settled on a rich yellow (BR Warning Panel Yellow).

You will see that I opted to spray in the interests of an even application but this being a rattle can rather than a fine mist airgun, there is some texture to be seen at high magnification. We will appraise the success or otherwise of this approach once I have attended to the hands. The original minute/hour hands were quite badly pitted and no longer fit for purpose. The closest matching set of hands in decent condition that I had were from a Seiko 5 Sports 6106 and so I set about reluming these as prime candidate replacements.

My choice of alternate seconds hand was sourced from the same watch. That hand has an attractive anodized orange finish but is ever so slightly shorter than the original. The image below shows a comparison of the yellow-painted original against the orange alternate, with the decision about the freshly relumed replacement hands made.

There is no denying that the yellow option has its appeal but I had reservations about the finish and in the end opted for the slightly more sober and original finish of the orange. Having made that decision, the movement, fitted with its dial and hands, could be reunited with the case. And it was at this point, as I contemplated fitting the second reduction wheel and rotor, that I realised my error from earlier.

You will see that in the image on the left, the pawl lever is mounted upside down. Unfortunately, correcting that mistake is not the straightforward exercise that it would be in, say, a 61 series. In the 7 series movements, the only way to extract and flip the pawl lever is to remove the ratchet wheel, balance and barrel and train wheel bridge, unclip the c-clip, remove the pawl lever, refit it the correct way up, refit the c-clip and reseat and fasten the train bridge. Strictly speaking, you should also remove the pallet fork and its bridge but I was able to re-seat all of the train wheels quite easily with the pallet fork in position. This was a bit of a ball-ache, but in the end, relatively easily rectified and chalked up as a lesson learned.
With that done, the final step is to refit the rotor. As I’ve described elsewhere, the rotors on this family of movements need to be fitted with the rotor positioned at a particular angle with respect to the position of the second reduction wheel. That position is defined by the alignment of the arrow cut-out in the winding weight with the hole in the second reduction wheel. If you want to read more about the method and speculation on the reasoning, then take a look at this post and the accompanying commentary from readers.
With fresh gaskets fitted to the stem and caseback, we can close her up and take our first look at the completed watch.

I feel happy about the choice of seconds hand as well as the replacement hour/minute hands. I also think that the decision to relume the watch was the correct one. There is no decision that needs taking about strap because this watch came with its original bracelet.

This is a handsome watch on its reassuringly rattly bracelet and comfortable on the wrist.

It monochrome demeanour is lifted by the splash of colour on the seconds hand and the visual impact provided by its internal rotating bezel.

This watch is both strikingly similar to its more vibrant cousin but is complementary rather than redundant in terms of the variety that it must have offered to the buyer of a Seiko 5 Sports watch in period.

In returning to the question posed in the opening post about the rapid switch from 51 series to 7-series over the course of just a year or so, the answer, I suppose is obvious. The 5126A, by comparison, is a more complex movement, certainly more sophisticated in terms of its overall engineering and design and it must be concluded, more expensive to produce. You will have gathered by now that I have not been a particular enthusiast of the 7-series, not least because it still smacks of penny-pinching coupled to a rather crude external appearance. For me the current 4R and 6R movements are tainted by this association, their DNA easily traceable back to the 7005 and 7019’s of the early 1970s. I do acknowledge however, that this is clearly prejudice on my part. I remain reluctantly impressed by these movements having dug deeper than the superficial impressions projected by their outward appearance. And as fitted to this very appealing early sports diver, I find myself won over

What a great conclusion to the mini series! Hoping for many more of your fantastic posts this coming year, Martin.
Thanks Marcos. I’ll see what I can do!
Jouw horloge
Met vriendelijke groet, Mit freundlichen Grüßen, Regards, Cordialement,
I.W. van de Puttelaar
>
You do fantastic work and your write ups are thoroughly entertaining. Been loosely following your site for a few years. Am apprenticing for an “old school” swiss watchmaker who is prejudiced against Seiko because much of what he sees Is uncared for old models that have been running on gunked oil without service for 20, 30, or even 40 years. After your last breakdown I purchased an old 30 jewel seikomatic-r and forced him to take a new look at it. I may have changed the opinion of an old man set in his ways. Thanks for your time on the write ups.
Thank you for your comment. It is always gratifying to hear from readers who get something from my blog. I am also pleased to hear that you have been able to disperse some prejudice against Seiko as a result! Good luck with your apprenticeship!
Hi Martin.
Here again to ask for advice in one tool you use. So I am curious about dealing with the diafix jewels. Reading your article you talk about using an automatic oiler. May I ask about which one in particular? Would you advice on getting one or several?
Couple of time working on 7019 movements I’ve used the normal oiler without disassembling the whole jewel. But I am not sure about results.
Always a pleasure following your projects
David
Hi David, the automatic oiler that I use is the Bergeon 7718-1A. I don’t think there is another size appropriate for capped settings but in any case these things are so expensive that I’ve been happy enough just to make do with the one. You can always tell how successful you have been with your oiling by observing the size of (hopefully) the perfectly circular oil droplet visible from the cap jewel side. Sometimes I might need more than one oiling attempt to get it right. I hope that helps. All the best Martin
Thanks for the reply Martín. Just one last precision. Most of the times those called jewels concern gears that need different oils right? In this case HP1300 for the second wheel and 9010 for the escapement wheel. (I may be mistaken on the name of the wheels :-p).
So you charge different oil on your oiler after one application?
I tend to follow the service manual recommendations for the gear train and in most if not all vintage Seiko calibres, they will recommend synt-a-lube for all of the faster-moving elements of the gear train. If I were to opt for a higher viscosity oil for one Diafix compared to another on a regular basis, then I would probably buy a second automatic oiler or find a different way of oiling the settings.
Thanks Martin for another great post. Very informative with nice photos. I like the 7019 and have several of them due for service, so your photos will help me very much.
I am happy to hear that you have found it useful.
Hi. Brilliant post 🙂 I have a Seiko Advan 7019 6050 with a missing back case. Do you know of any other newer Seiko model that will have a back case that will fit my Advan?
Hi Delroy,
I’m afraid that I’m not going to be of much help with your question, not having access anymore to either of the watches featured in this post. My only experience of mixing casebacks has been with 6105/6309 for which I noted a common thread size with more modern Seiko 7S26 models but there are commonly other factors that need to be taken into account such as gasket sealing surfaces and how the caseback interacts with any movement retaining ring.
Sorry not to be of more help
All the best
Martin
Love that the 7019 is fully metallic, with zero plastic inside. It runs fantastic after a service. After an overhaul, it runs better than my 7s26 and 6R15 movements.