
Tags
6105, Diver's Watches, ESA, Seiko, Silvana, Vintage, Watch crystals
A number of circumstances have conspired in the past few weeks to keep me from much in the way of activity on the watchsmithery front and so with September now upon us, I thought I’d attend to a couple of minor chores to get me back into the saddle so to speak. Consequently, this post is not going to offer very much of substance but might throw up one or two items of minor interest.
Silvana Diver revisited
My choice of holiday watch this year was to have been my Silvana diver’s watch, whose restoration was described some time ago.
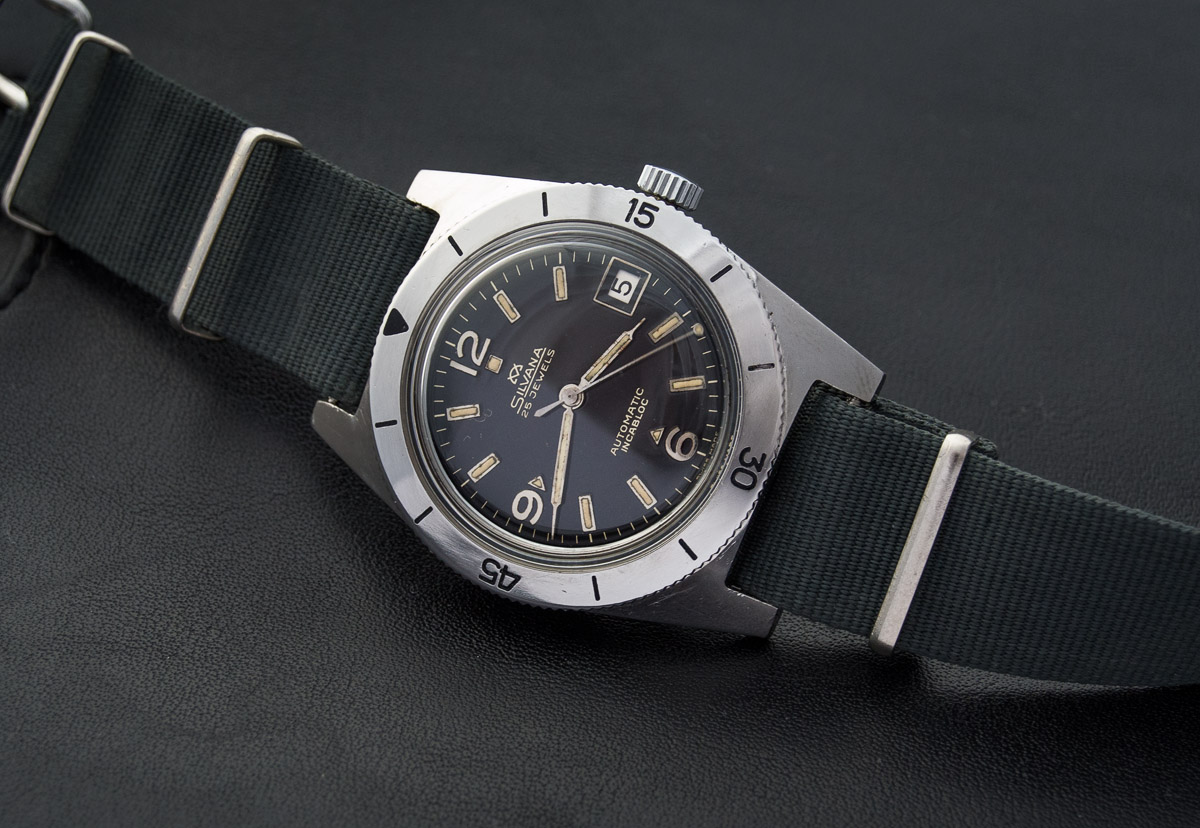 Holiday duties generally require something relatively low of profile and comfortable in hot weather, something that won’t mind being stuffed into a rucksack pocket on the beach or cope with a hike and ideally something that might offer some degree of reasonable water resistance. I wore the watch for a day or two before our scheduled departure but then noticed that the crystal had fogged up during my cycle home at the end of a damp working day. My suspicions turned immediately to the crown as the likely weak point, its fit not being quite as snug as I would have hoped when replacing the worn original.
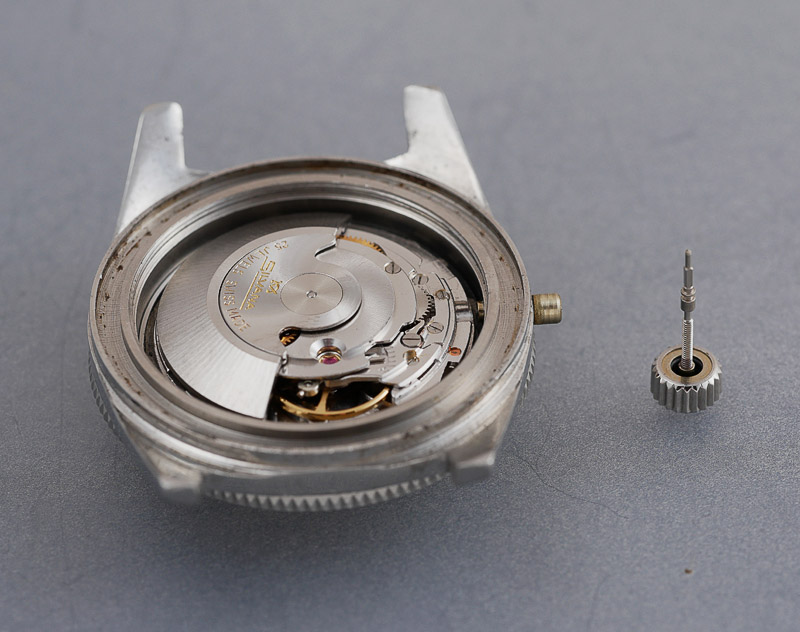
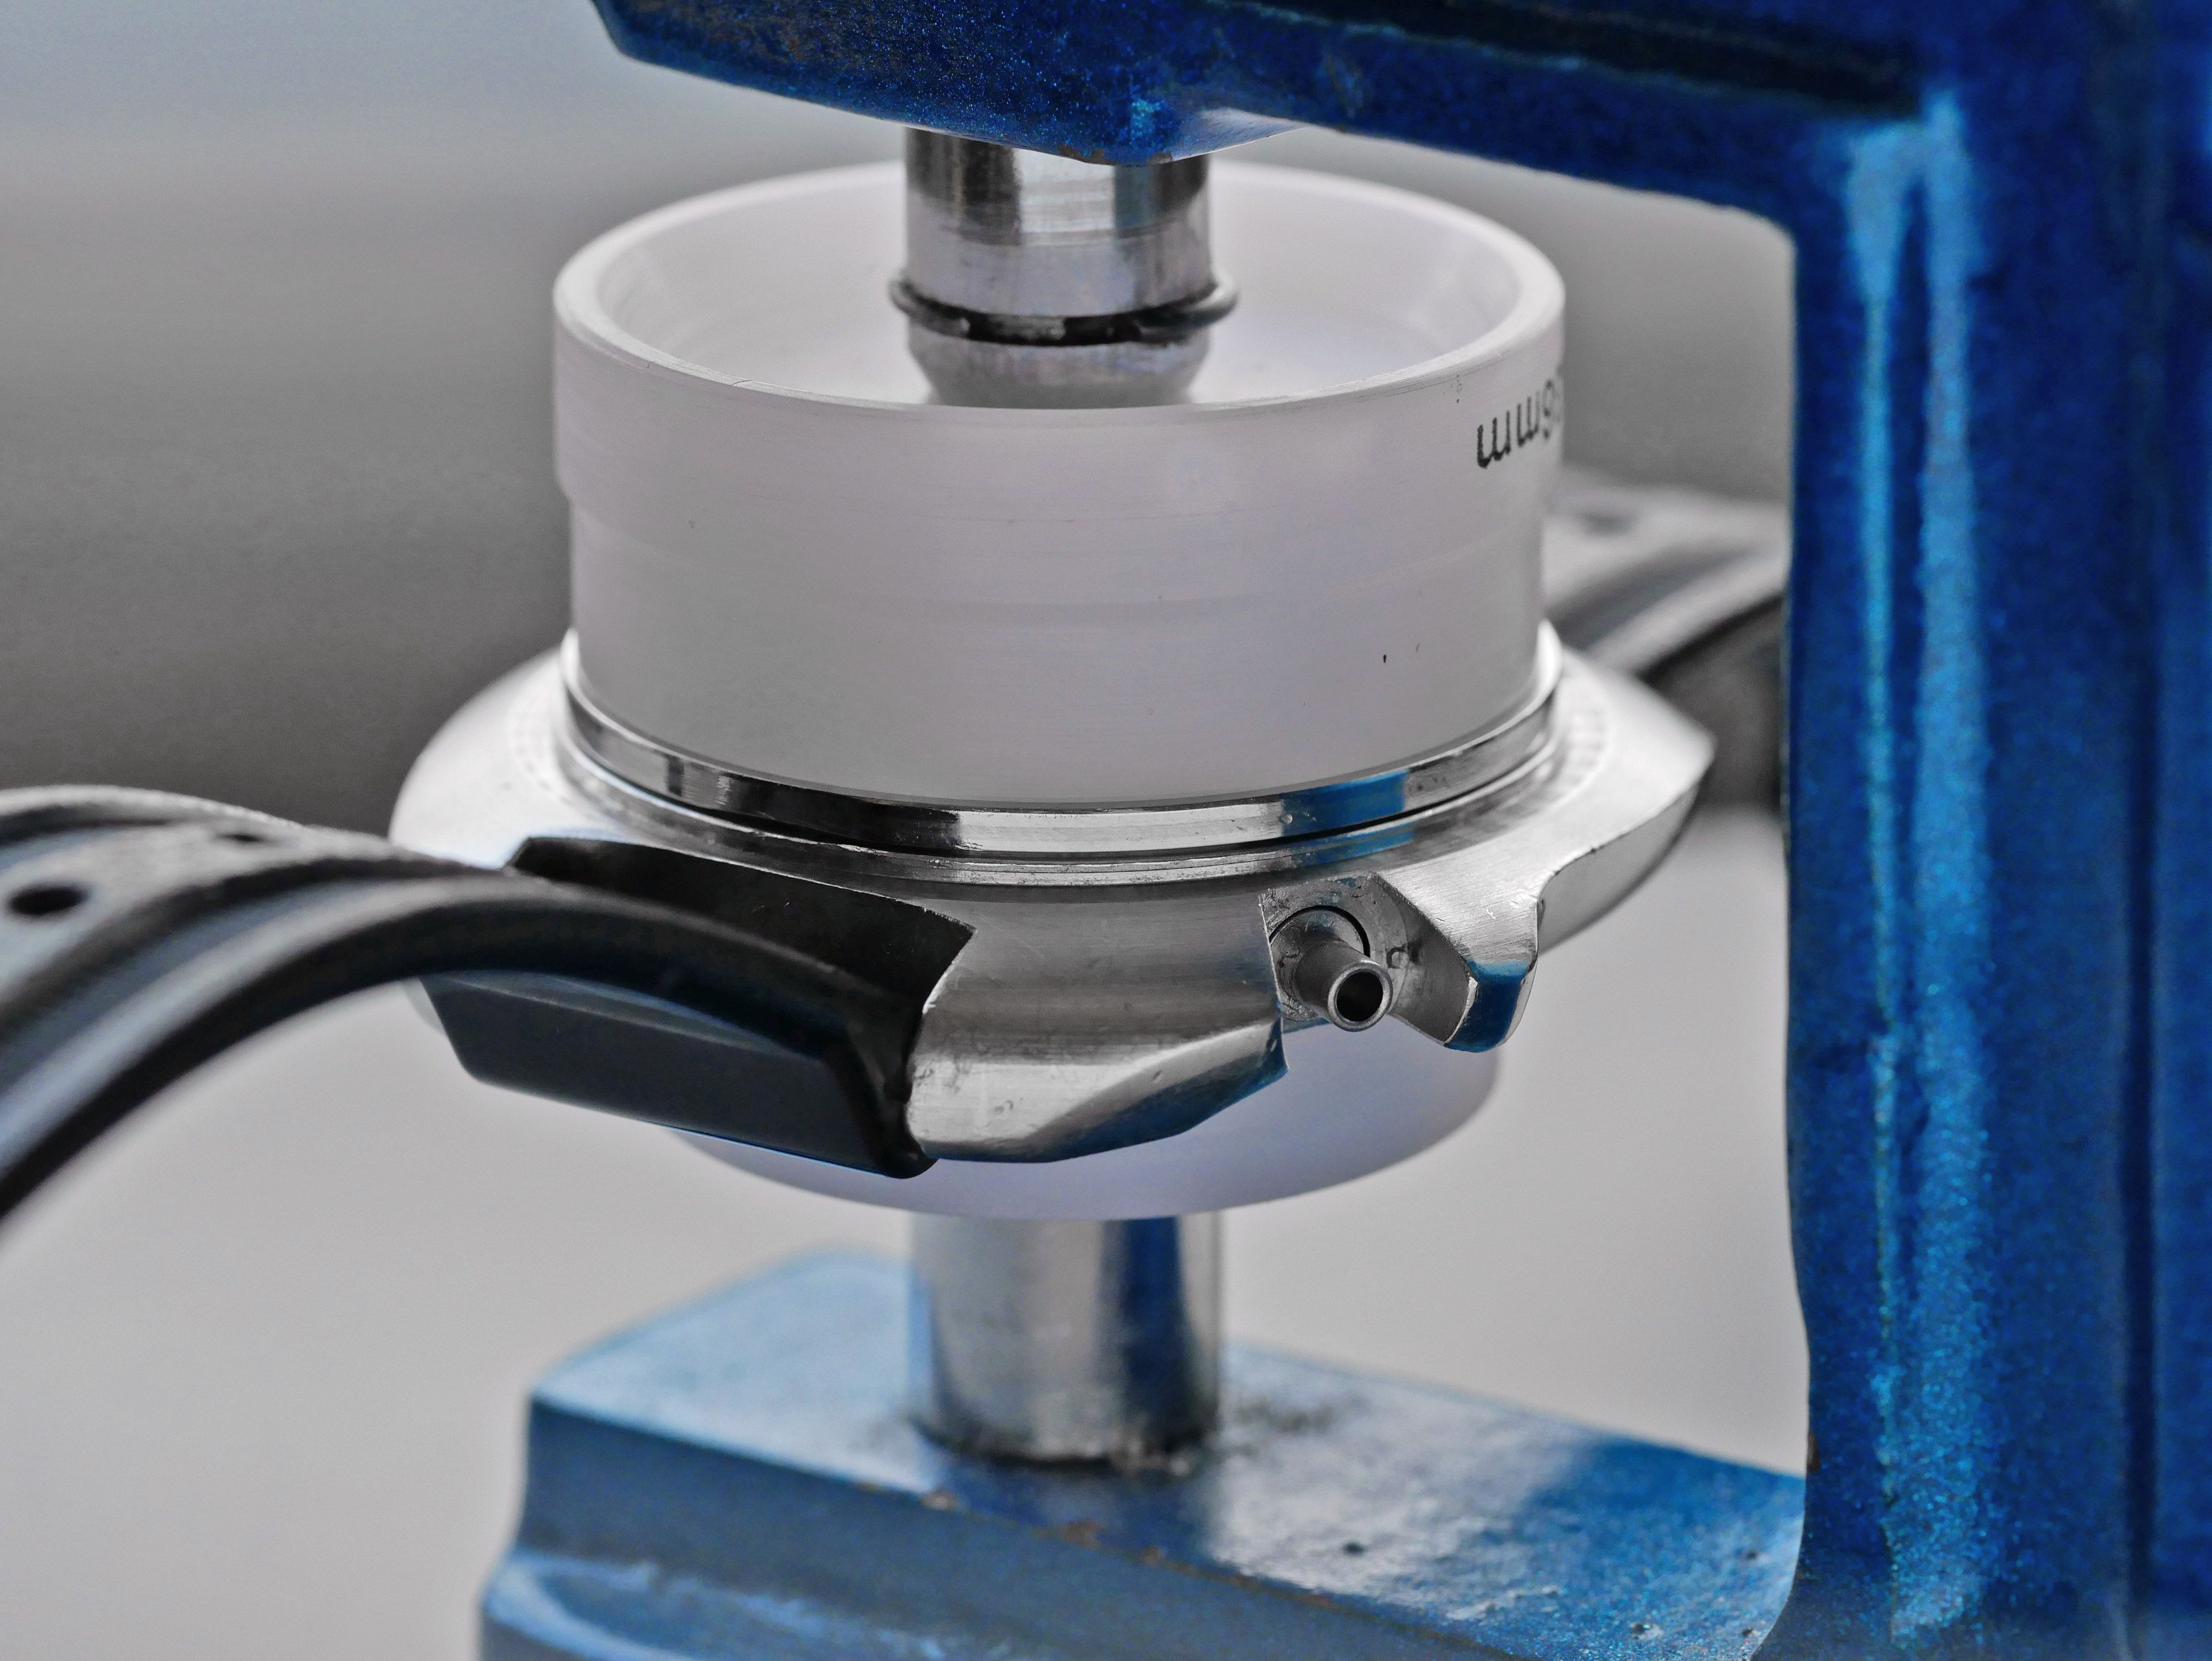
The case itself does have a bit of pitting around the case back mating surface but the o-ring is such a monster that I was fairly confident that that would not have been the source of atmospheric pressure leakage. So, time for my pressure tester to earn its keep. Given the likely vulnerabilities of the crown, I opted to remove the movement from the case before pressure testing.
 Having refitted the crown and case back to the now empty case, it sits suspended from the hook within the chamber of pressure tester. The chamber pressure is then raised to just over 6 bar by cranking the handle to the right and the whole thing left for about 20 minutes. This period of rest allows the pressurized air to work its way through any points of vulnerability in the watch case.
 In a water-tight watch, this pressure equalization will not happen and the internal pressure will remain at atmospheric pressure. In a watch with flawed water resistance, the internal pressure will eventually assume that of the external pressure – in effect we pressurize the case to 6 bar relative to atmospheric pressure. The next step is to submerge the watch in the water, and then release the pressure from the chamber by means of the pressure relief valve on top of the chamber lid. Any leaks in the case will be revealed by a stream of small bubbles as the pressurized air inside seeks to escape via the same route by which it gained entry during the pressurization period. In the test shown in the video below, you should be able to see quite easily the source of the vulnerability in this particular watch.
A suitable choice of replacement crown made and a fresh ETA 2451 stem purchased, a quick comparison shows the subtle external differences between the outgoing and incoming crowns.
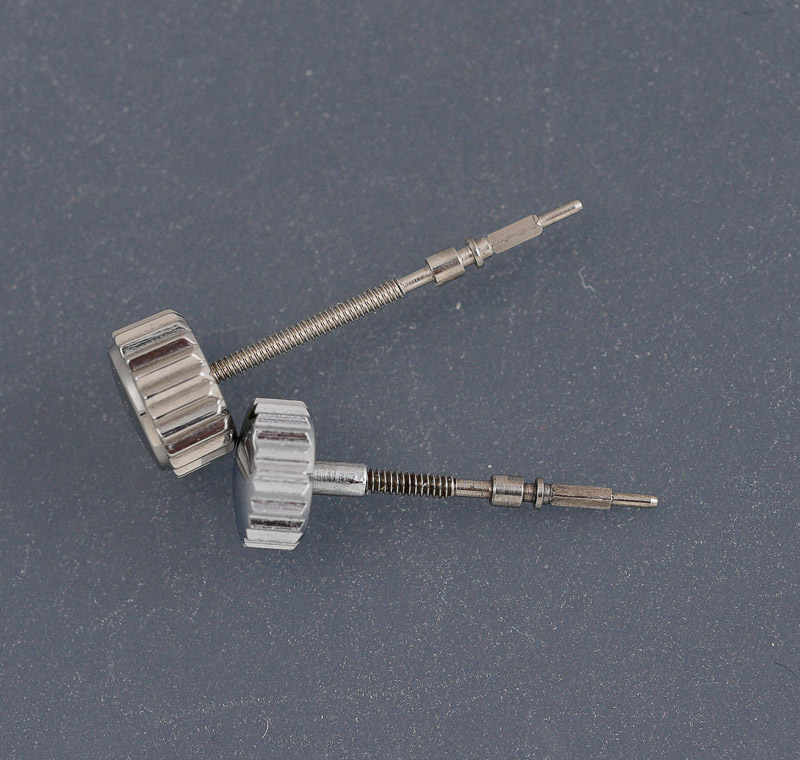 You can see that the new crown (upper) is slightly thicker and a tad wider. The new stem is untrimmed at this point as I wanted to retest the case with the new crown in position before committing. Pressure test take two now follows:
The lazy (and not so lazy) bubbles you see emerging from the bezel, crown and case back when the pressure is released are just air that had been trapped in the respective external cavities. We know (hope, trust?) they do not come from the interior because a pressurized case would continue to release air until the internal and external pressures has equalized and consequently we should see a steady stream of bubbles for a longer period of time. The conclusion we draw from this particular test is that the new crown looks sound.
The final steps are to trim the stem, taking care to leave enough clearance between the inner edge of the crown and the outer coin edge of the case bezel.
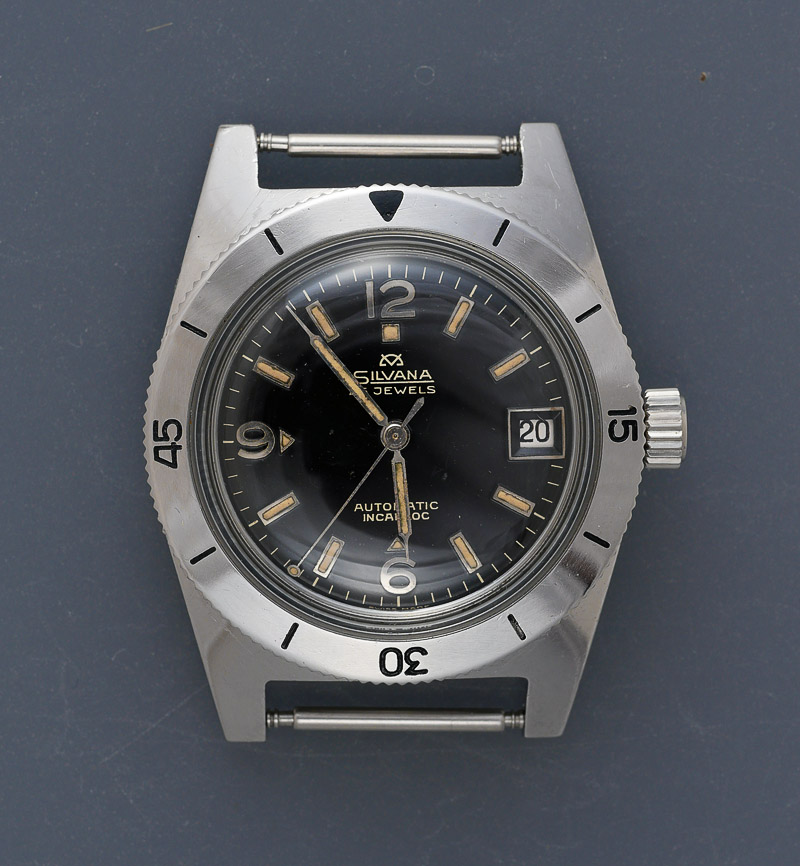
 With some fresh lubrication to the crown and case back gaskets, we can reassemble and admire the now more water resistant little diver’s watch. Unfortunately too late to take on holiday, but maybe next year!
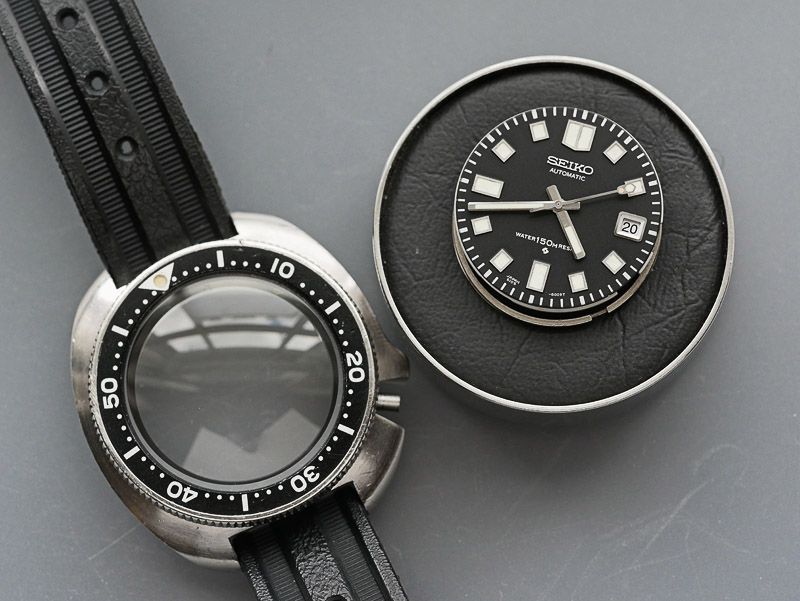
A Seiko 6105 Type II Hardlex crystal
Some time ago, I reviewed a number of aftermarket crystals available for the classic 150 m Seiko 6105 diver’s watches.
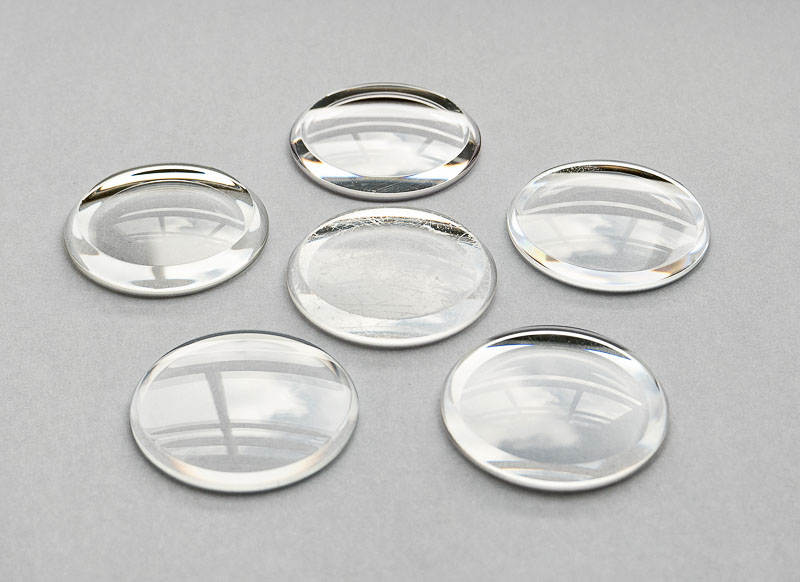 The somewhat begrudging victor of that battle royale, in the absence of a decent Seiko original, was the East Tech Type III originally supplied by Jonathan Koch but now available from kleinvintagewatchparts. This particular crystal is a facsimile of the third generation of 320W10GN crystal made by Seiko as a service replacement for the rather higher profile versions that would have been fitted originally to (at least the earlier production runs of) these watches. I chose to fit an East Tech Type III to my one remaining example of the second generation 6105-8110 whose restoration is described here. The appeal of the Type III profile is that it sits low enough in the case not to attract constant chips to its edge whilst maintaining that characteristic gap between the outer edge of the crystal and the inner edge of the bezel insert.
 However, it has been my intention to replace the crystal with something a little closer in profile to what would originally have been fitted to this watch because in virtually every other respect, this is a completely original watch and it deserves an original Seiko crystal.
Two years ago, I managed to find an old stock 320W10GN that for some reason I thought I’d save for some anticipated purchase at some point of another 6105. But as prices of these watches continue to shoot through the roof and my tastes shift in any case away from diver’s watches, I find myself resolving just to fit my rainy day crystal.
 So, in short order:
1. Movement out.
 2. Bezel off.
 3. Lever off crystal retaining ring
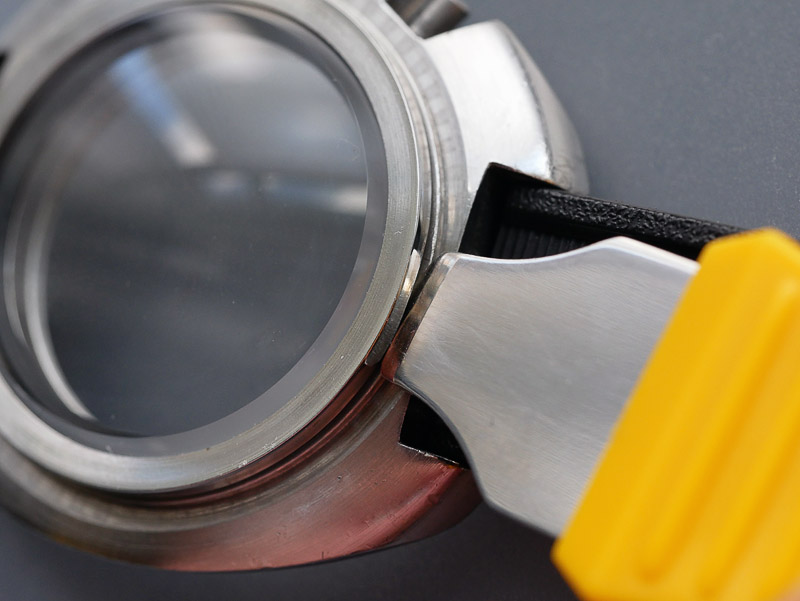 4. Push out crystal.
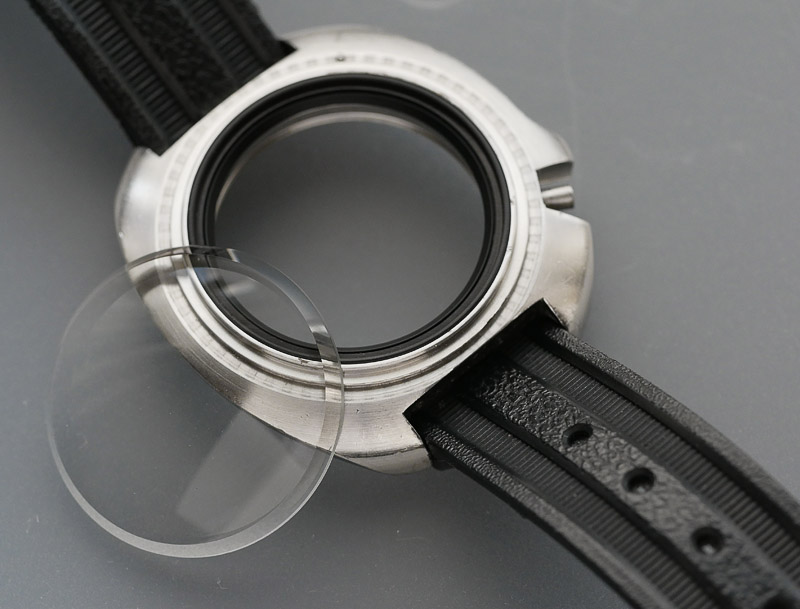 At which point we can compare outgoing with incoming.
 The Type III East Tech on the left is noticeably shallower and has a marked outer dome paired with the more pronounced inner dome. The Seiko crystal on the right I believe is what has come to be known as the Type II: comfortably taller than the type III but not as tall as the OTT Type I. At first glance it appears to have a flat top but careful inspection reveals the slightest of outer domes. You can get a better sense of its aesthetic virtues of course with it in place.
 The crystal is held in place with a retaining ring that has to be pressed into place using a crystal press.
 All that remains is to clean and re-grease the bezel gasket, refit the bezel and we are set once more.
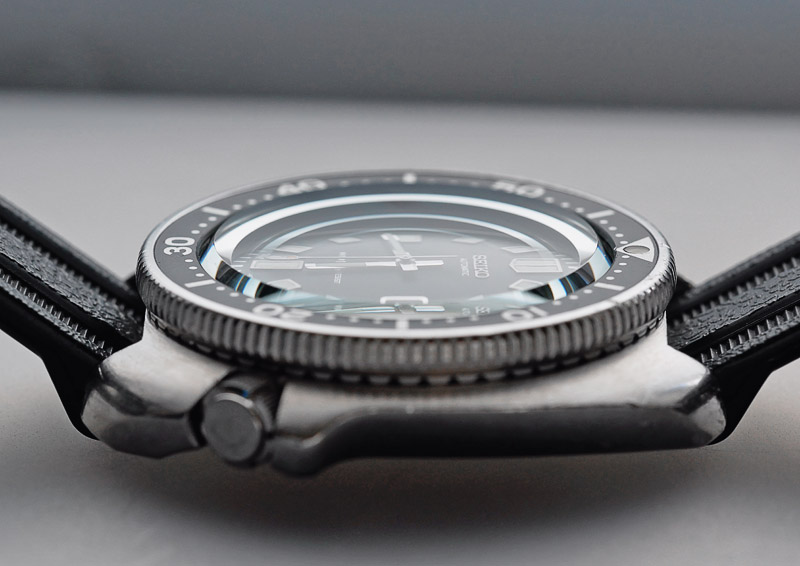 That’s better. The proof of the pudding in attempting to attain that perfect compromise between too much and not quite enough is the view from the top.
 Great legibility, not too much optical shrinkage and not too many stray reflections.

Glad you’re back! Always an interesting read. Haven’t waded into the world of Seiko divers yet, the final frontier for me. Thanks for this.
Once more, nice work! It´s good to read you again!
Martin, what type of crystal press are you using?
I have had it for ages and cannot now remember from where I sourced it. It is a generic, unbranded crystal press that somehow does the job for me and I’ve never really felt the need to get anything better.